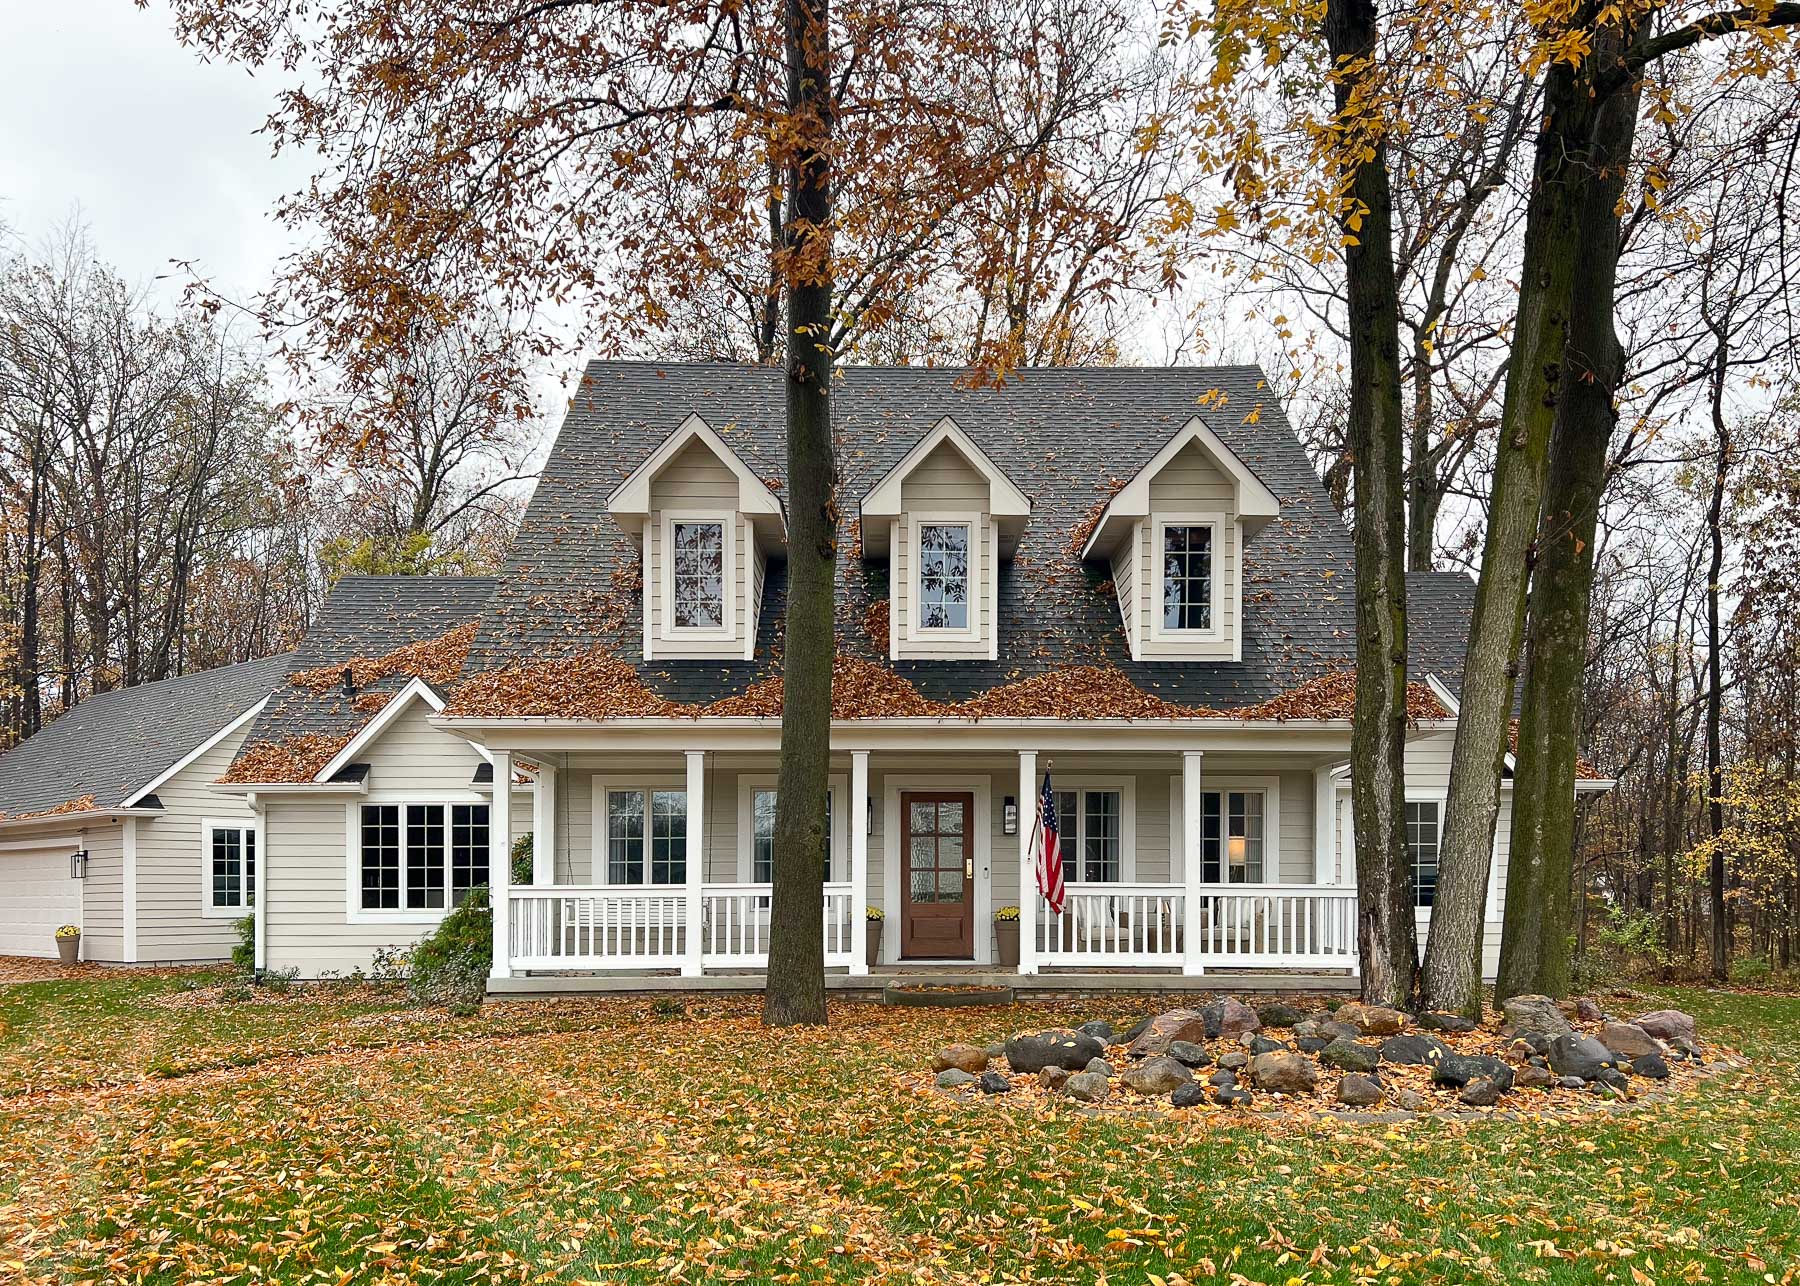

Transforming our entryway turned into quite the project. It wasn't a quick weekend flip, but a multi-day project that gave our home a genuinely custom feel. By starting with a raw, unfinished mahogany slab, we got to roll up our sleeves for the staining process and hand-pick every piece of hardware. The process took four days (roughly 6 hours of actual hands-on work), a few surprises, and some lessons learned. Here’s the step-by-step breakdown of how we made it happen, what we used, and a few tips for anyone considering their own DIY upgrade.
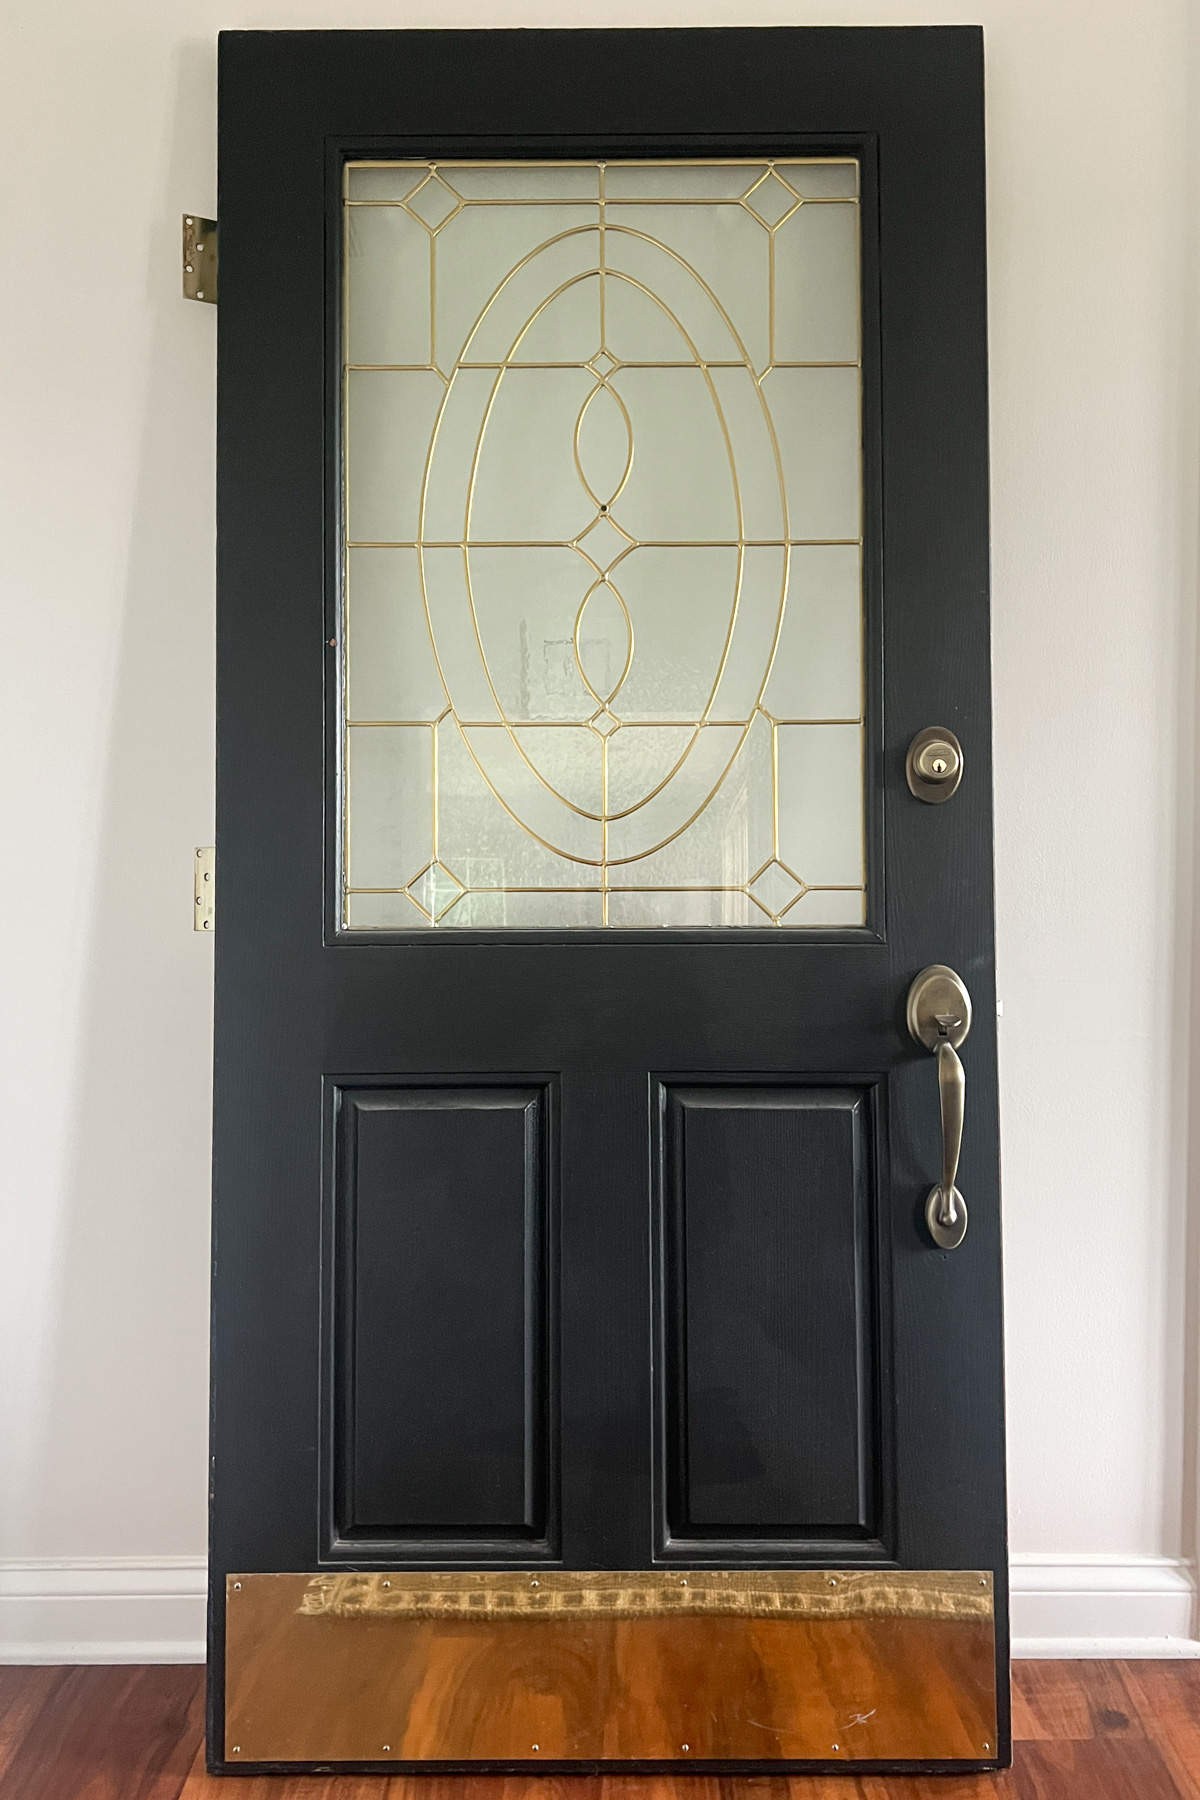
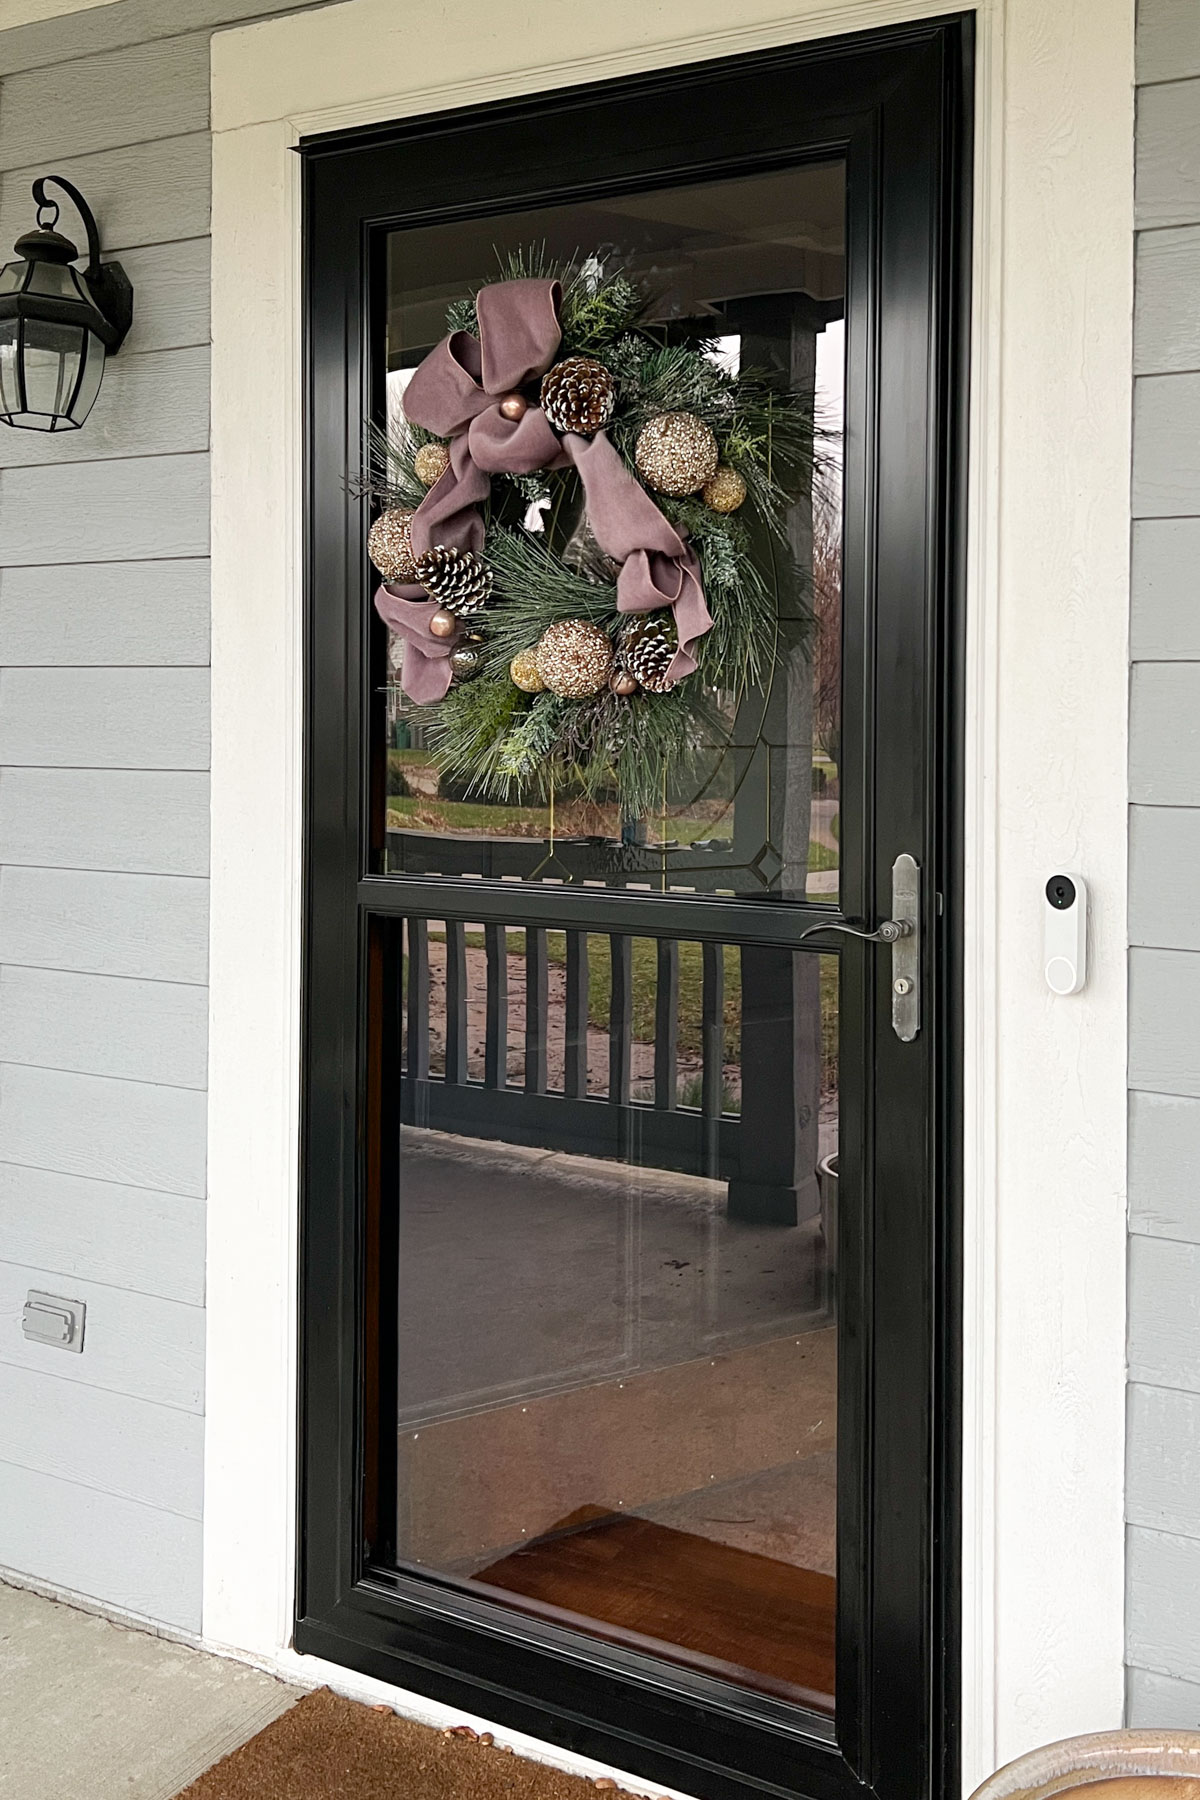
Before the upgrade, our entry door was two-toned. The exterior-facing side was painted dark navy, while the interior side kept its original medium-brown wood finish. It featured a large frosted privacy glass window with intricate brass caming and a double-oval geometric pattern. Traditional vertical raised panels sat below the window, finished off with a satin nickel handleset and a gold mirror kick plate. To top it off, a black-framed storm door sat on the outside, making it hard to even see the original door.
Materials:
Tools:
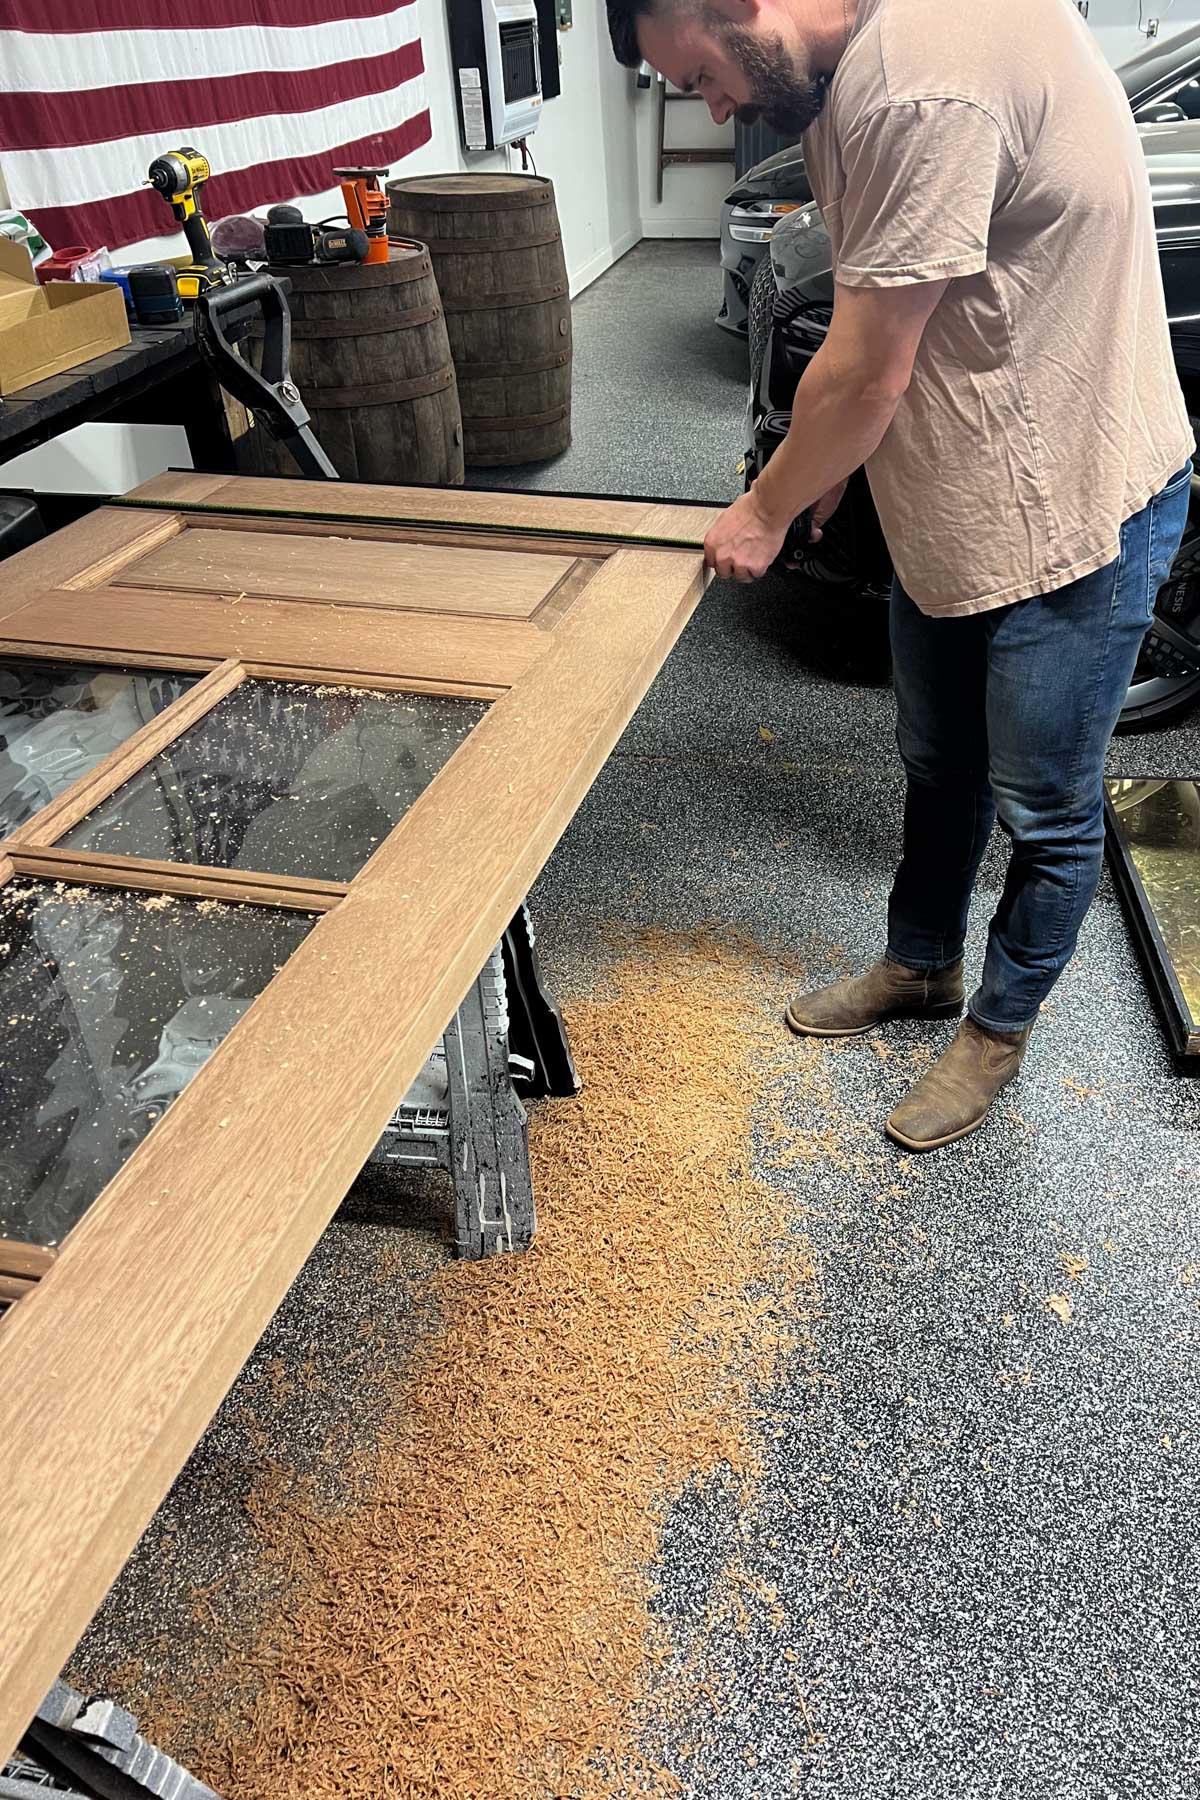
We chose a wood slab door rather than a pre-hung unit because our existing frame was still in great shape. Opting for a slab saved us a decent chunk of change upfront, though it definitely increased installation time since we had to cut it to size and route the hinges and lockset ourselves.
Thinking about upgrading your own entry door? Check out our complete guide on choosing the right front door to see everything we considered before making our purchase.
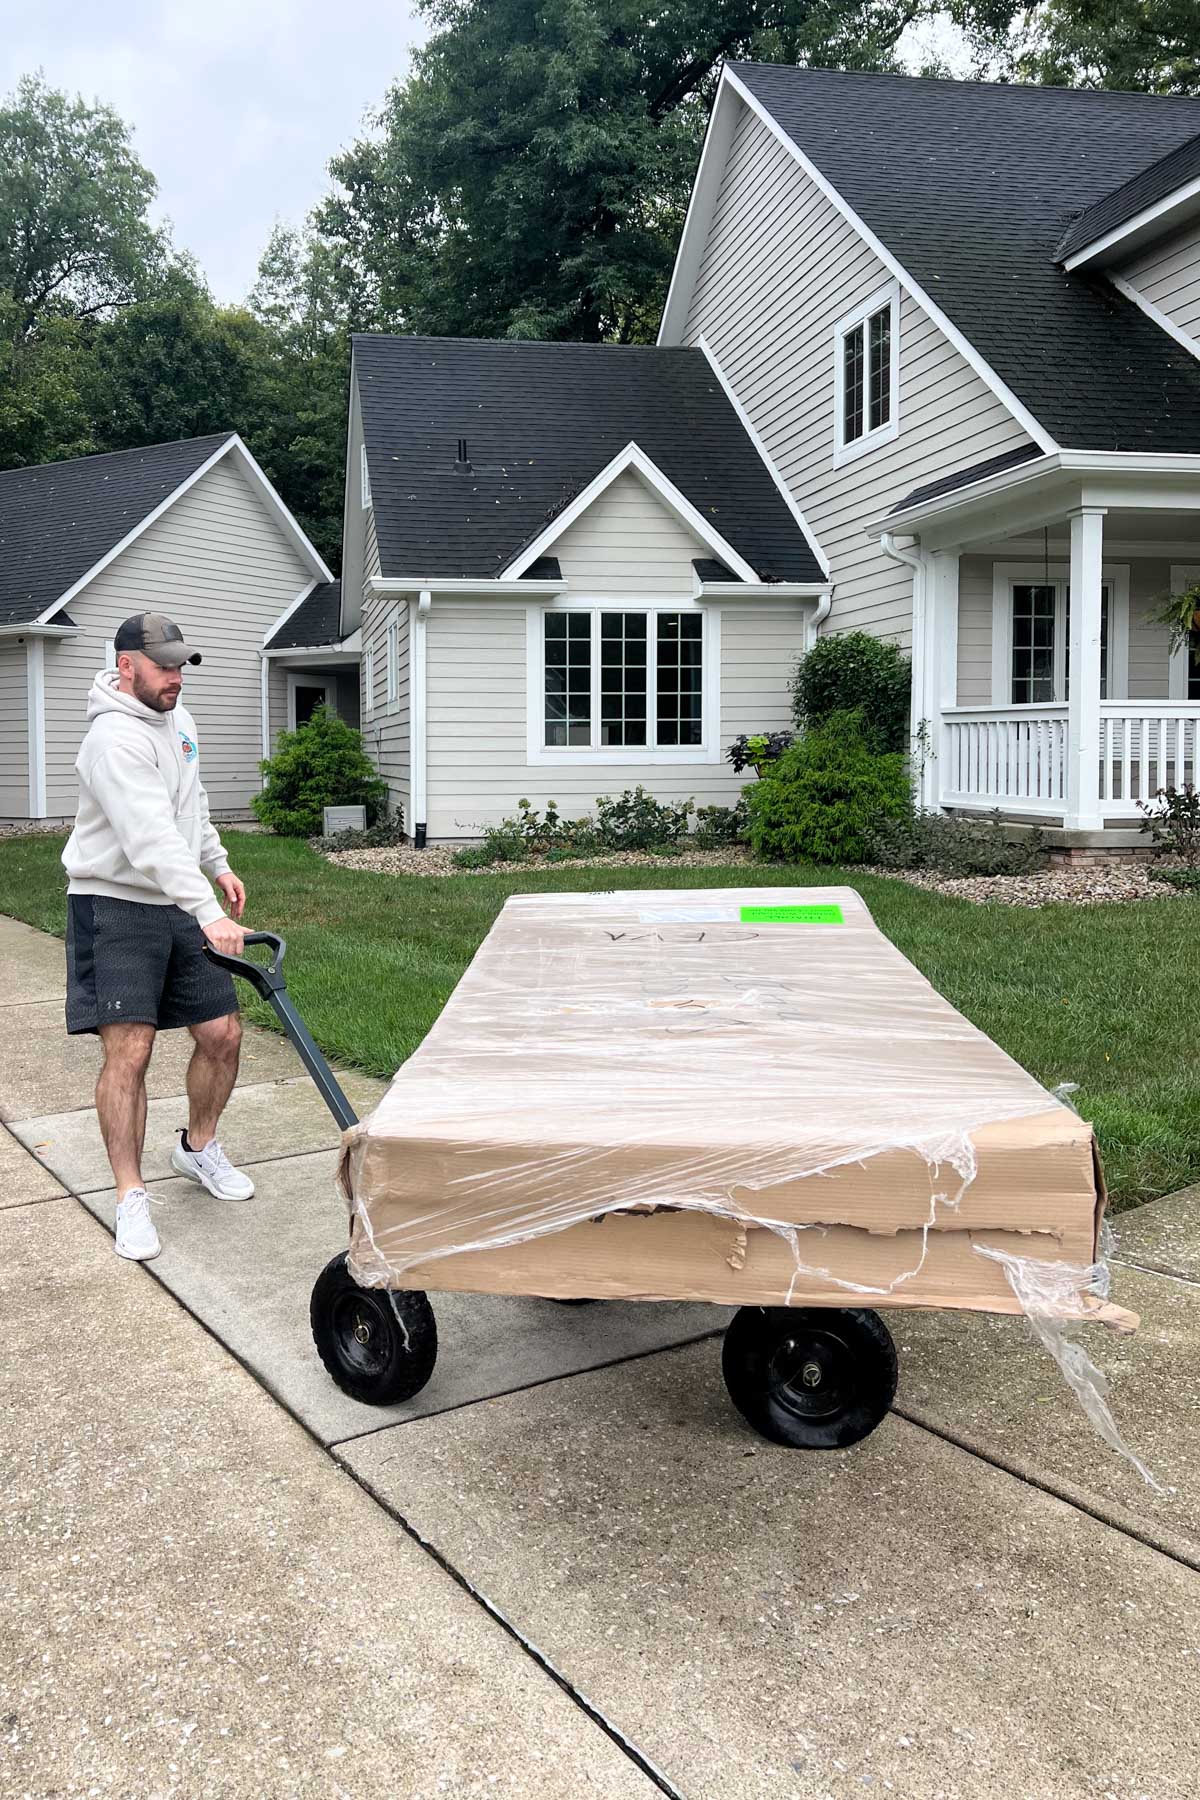
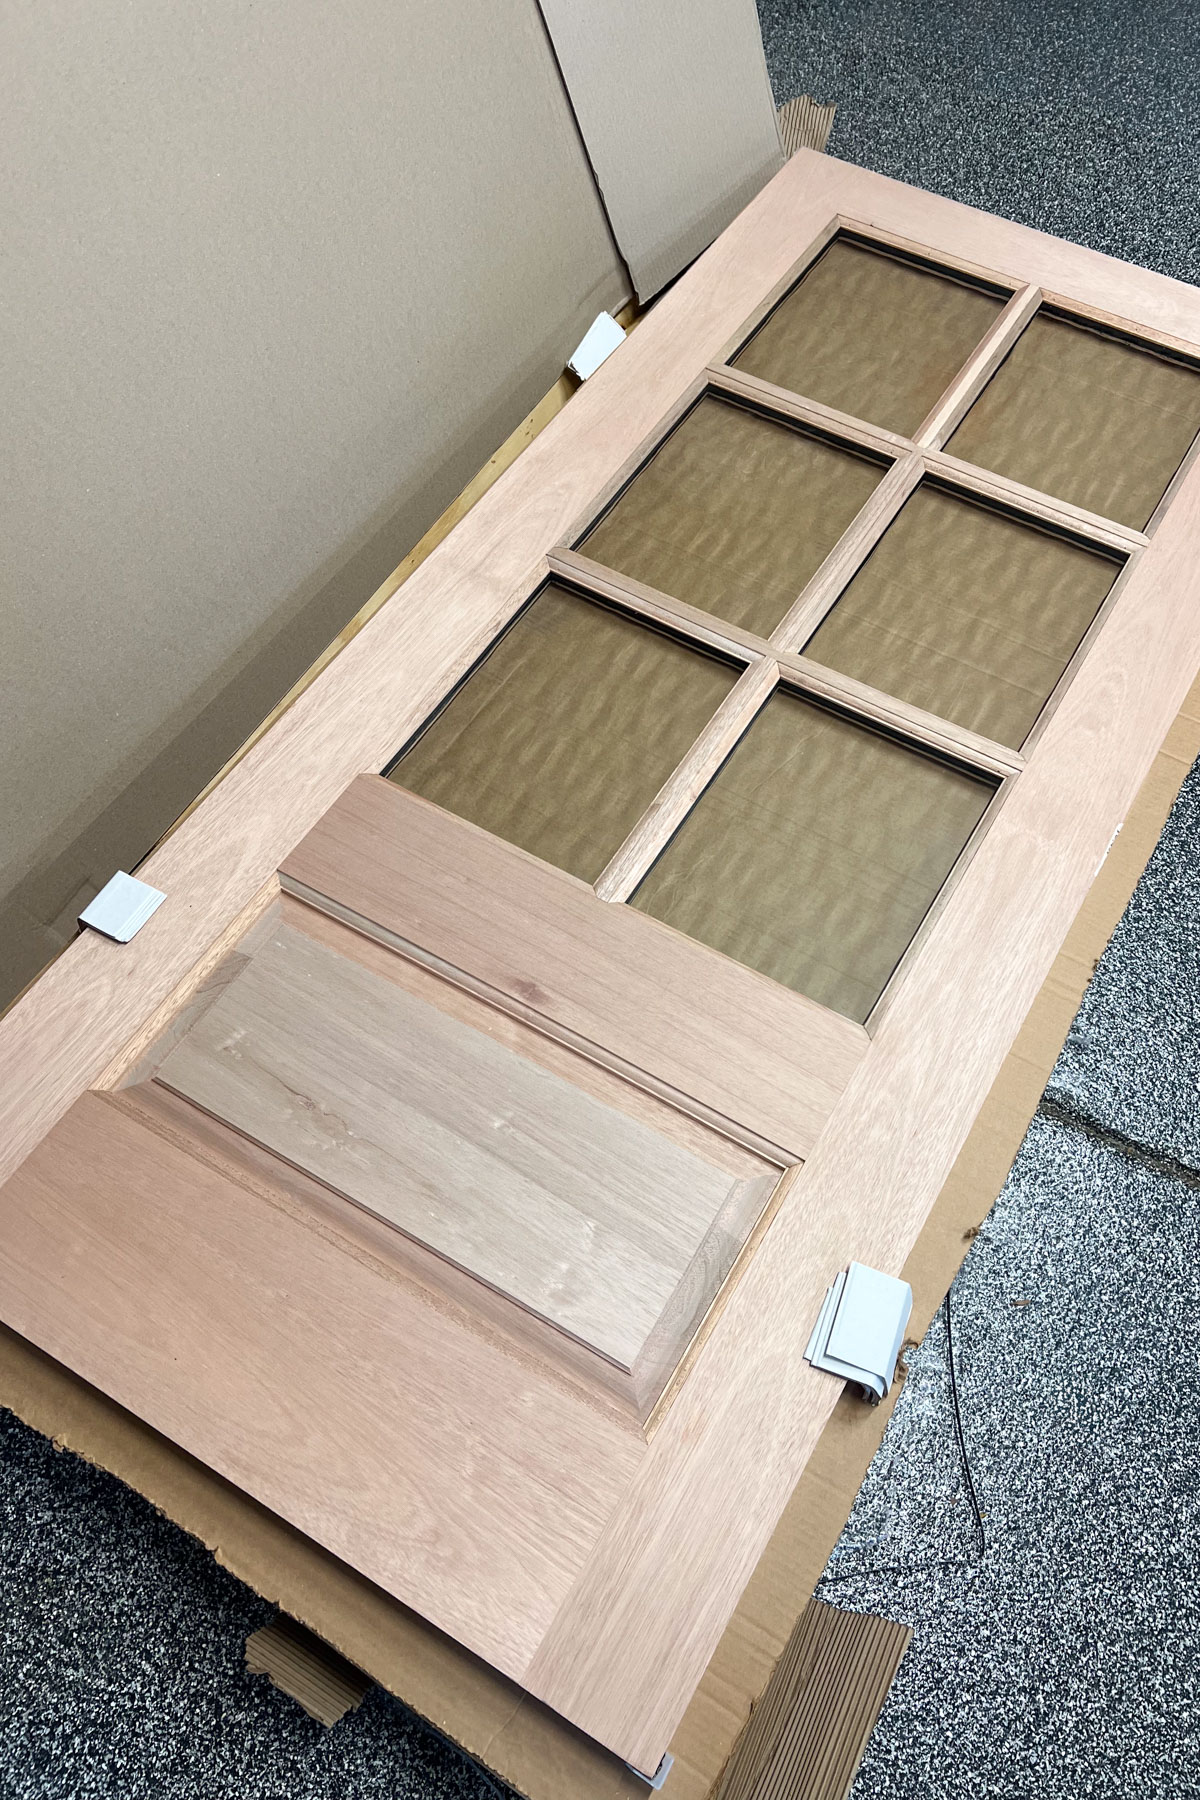
Before staining, Christian cut the slab to size.
We used Cabot's all-in-one, semi-transparent stain in Cordovan Leather, and I’m glad we did. It went on beautifully, and the resulting medium brown shade is spot-on. Beyond the great color, we ultimately chose it for a few key reasons:
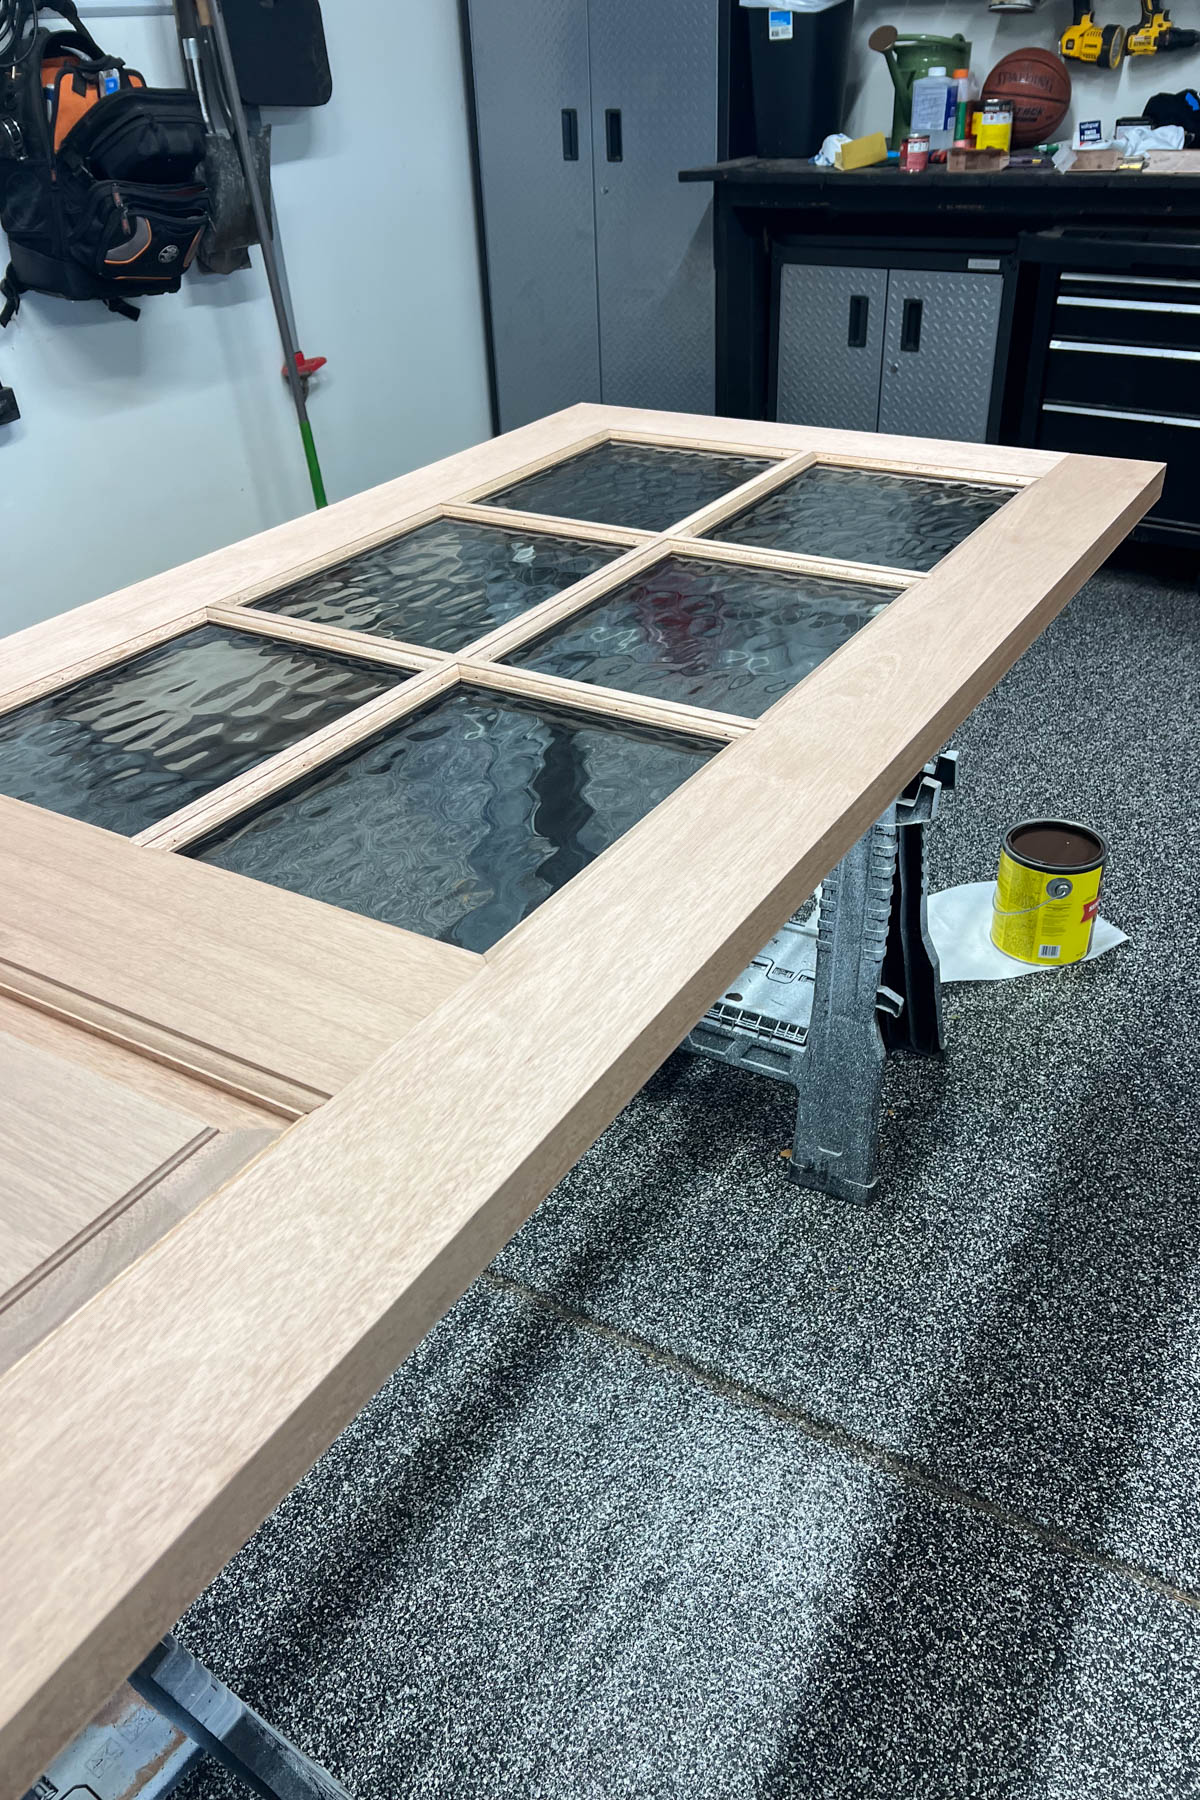
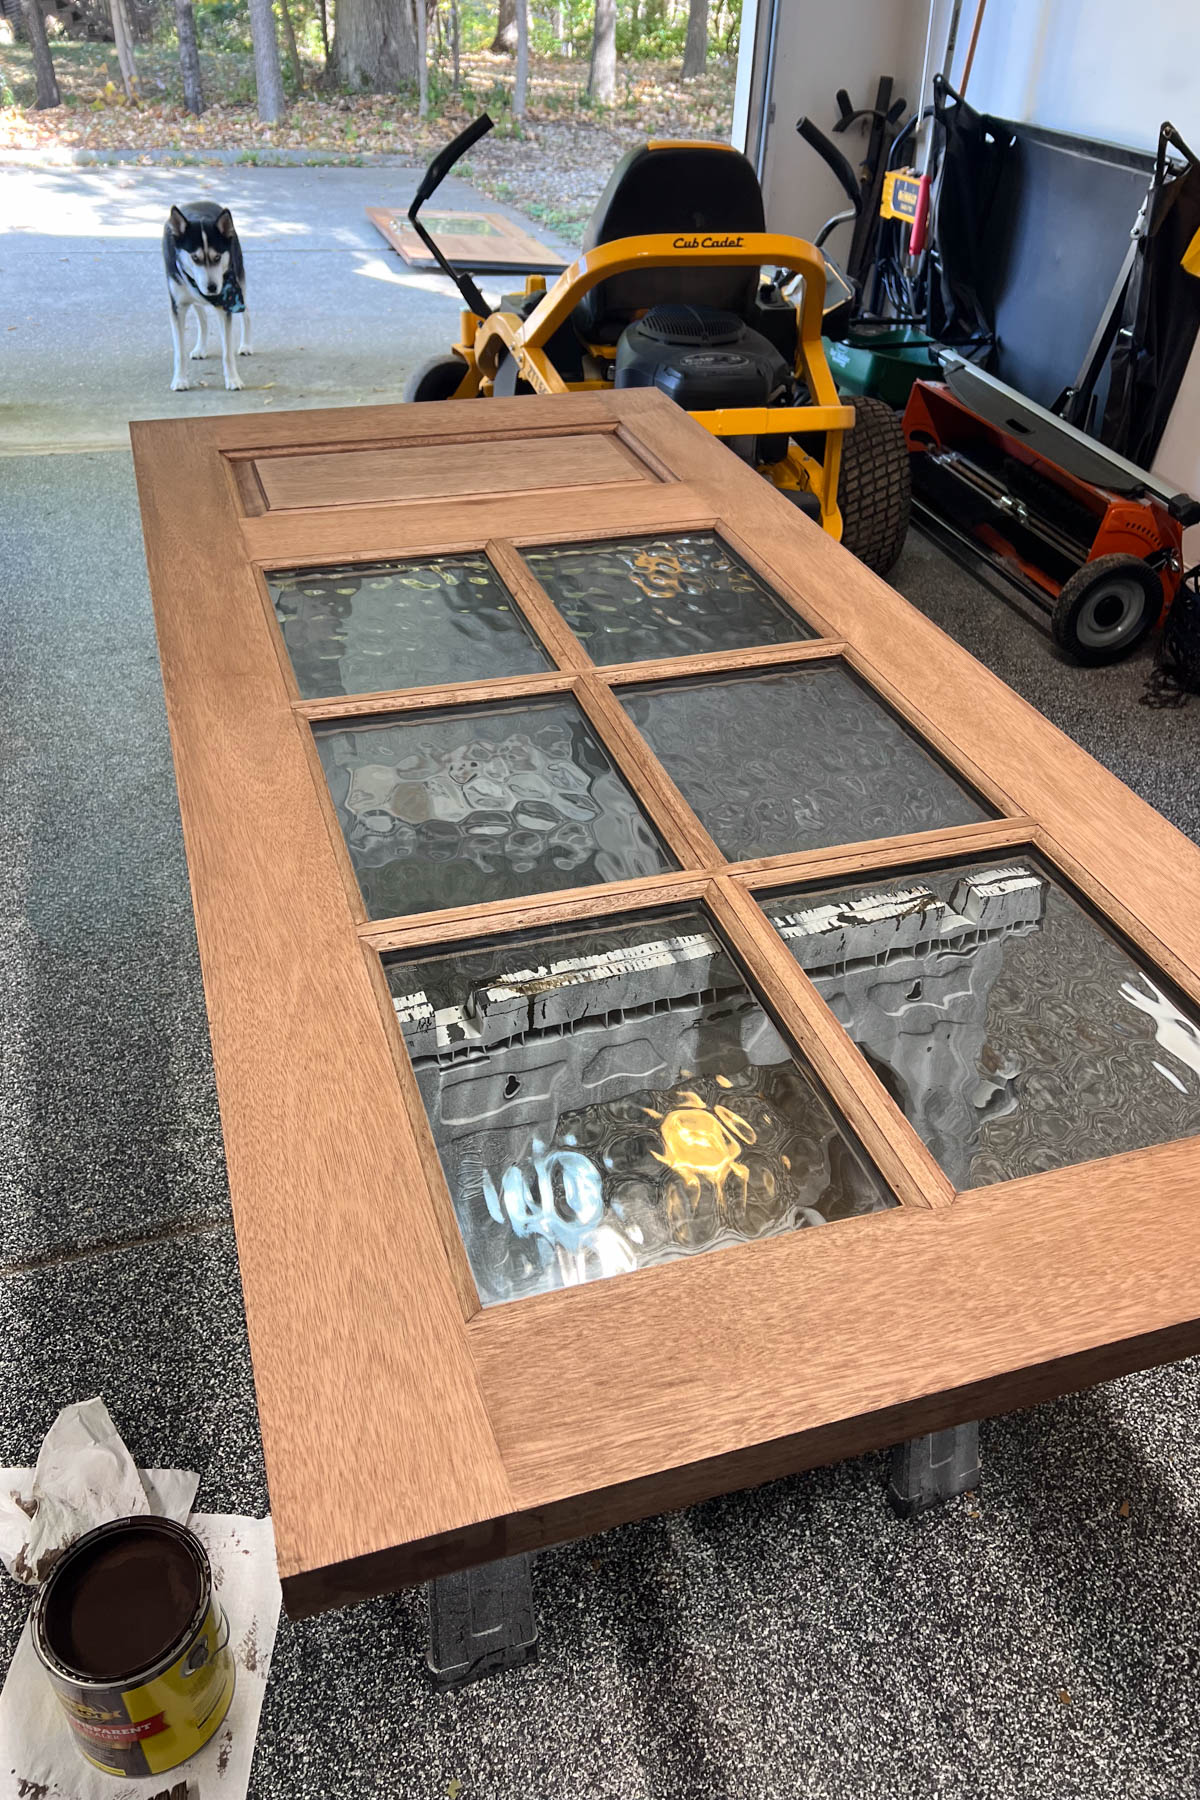
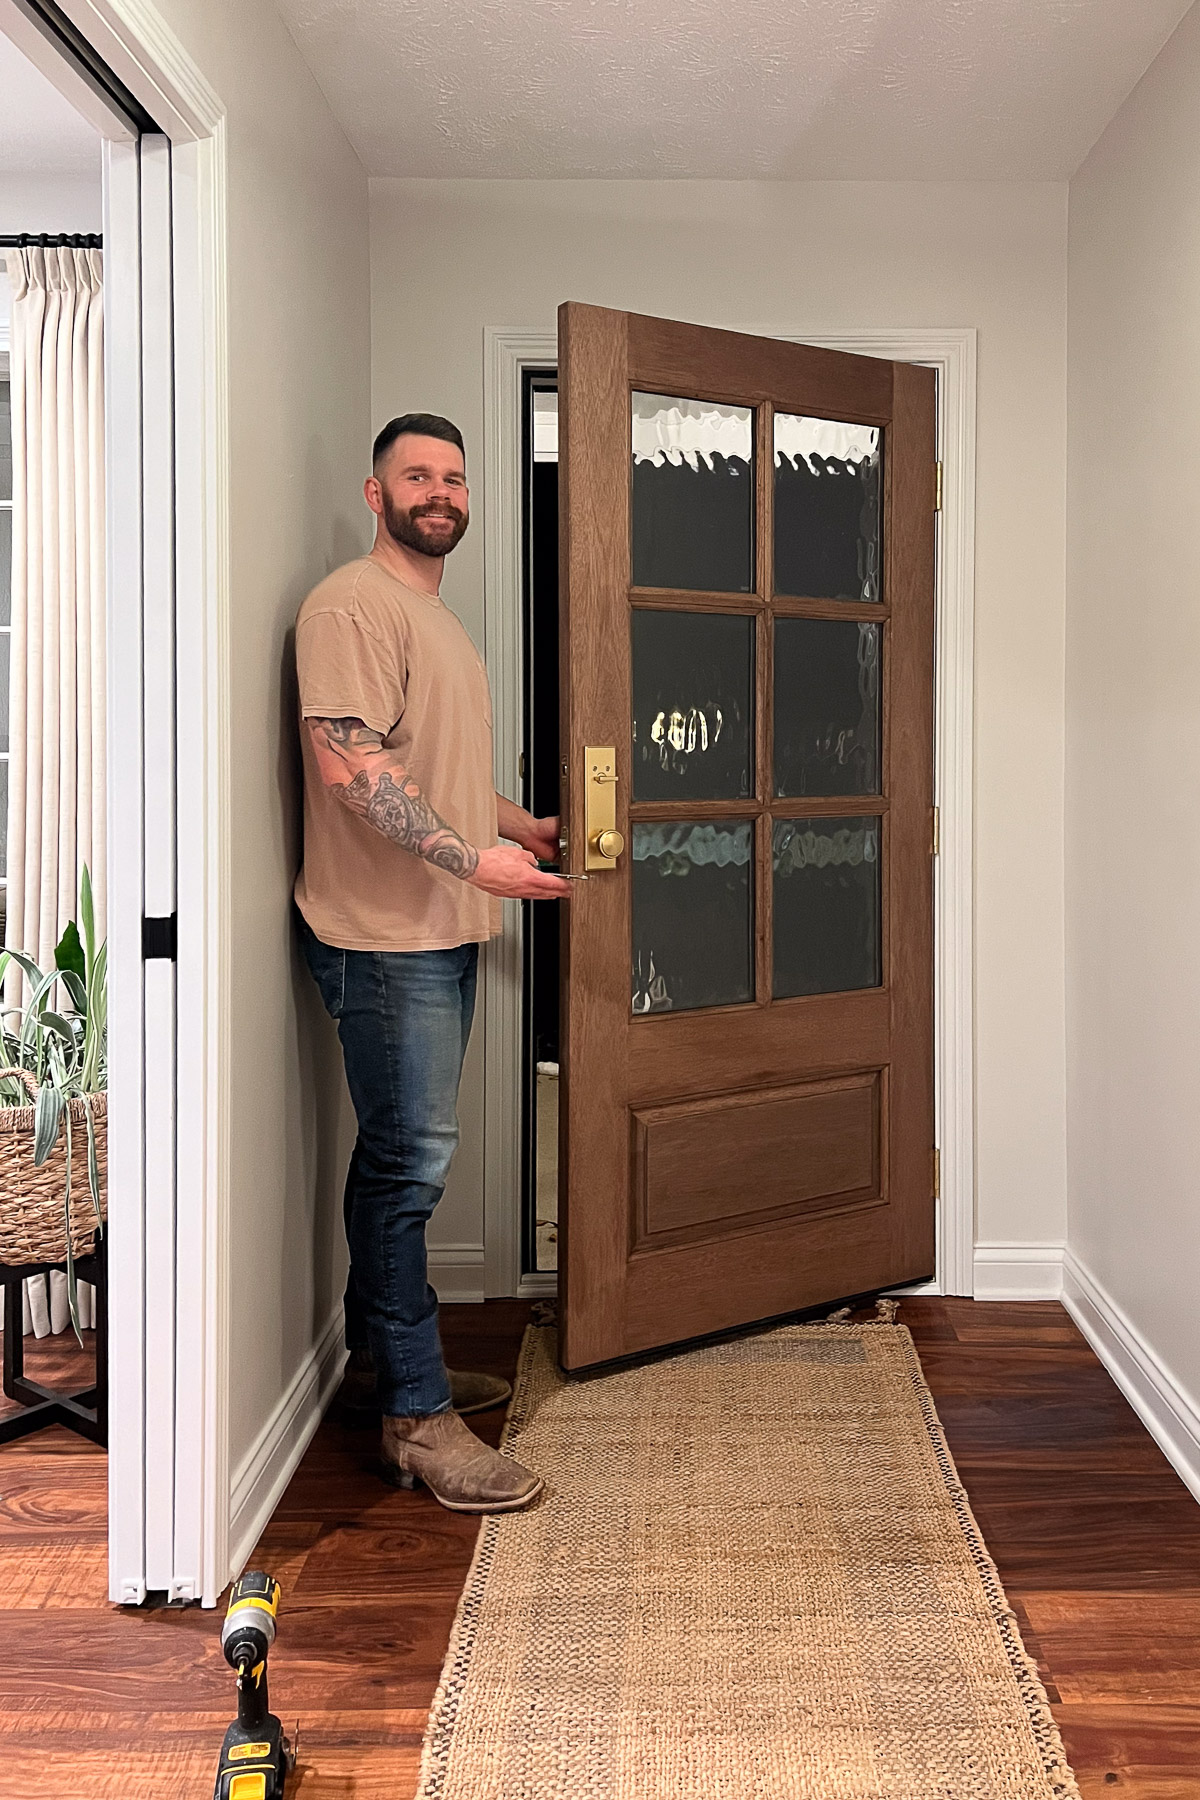
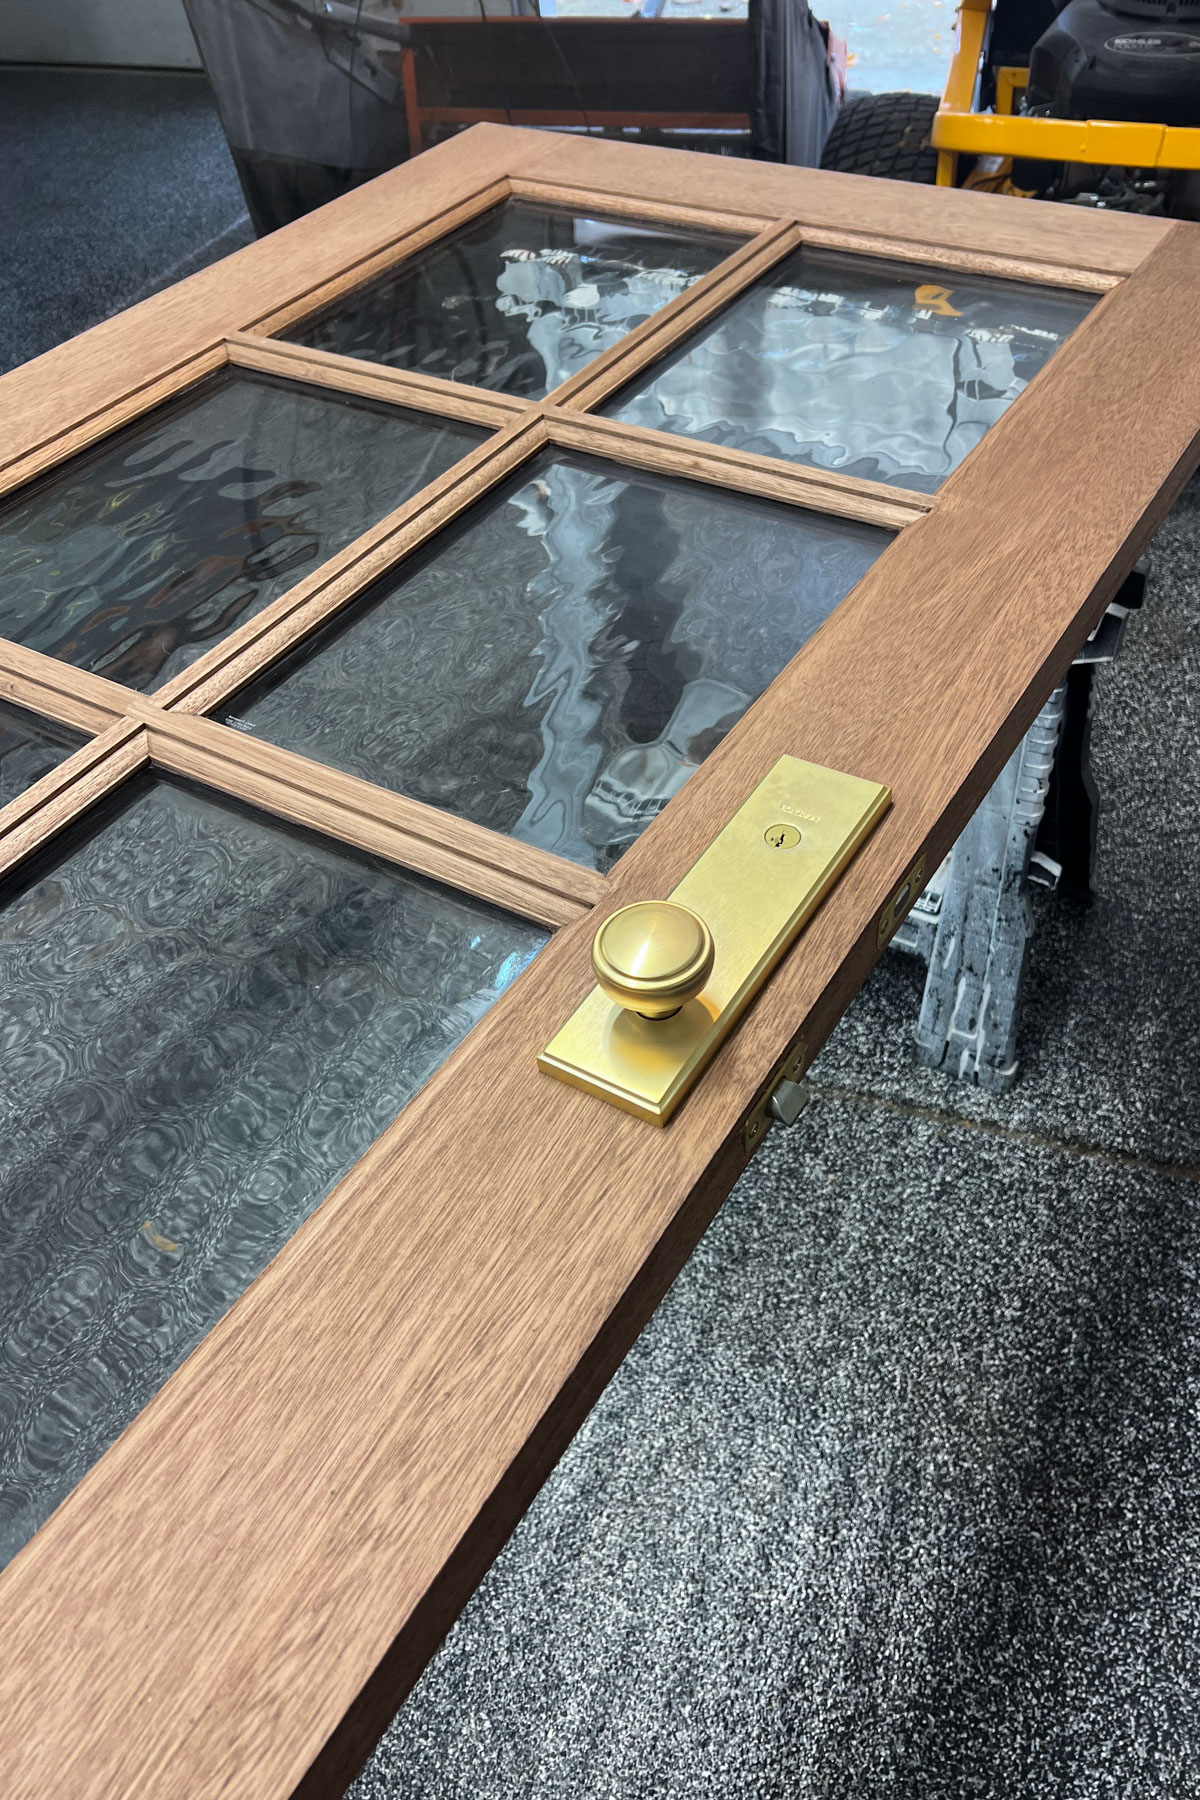
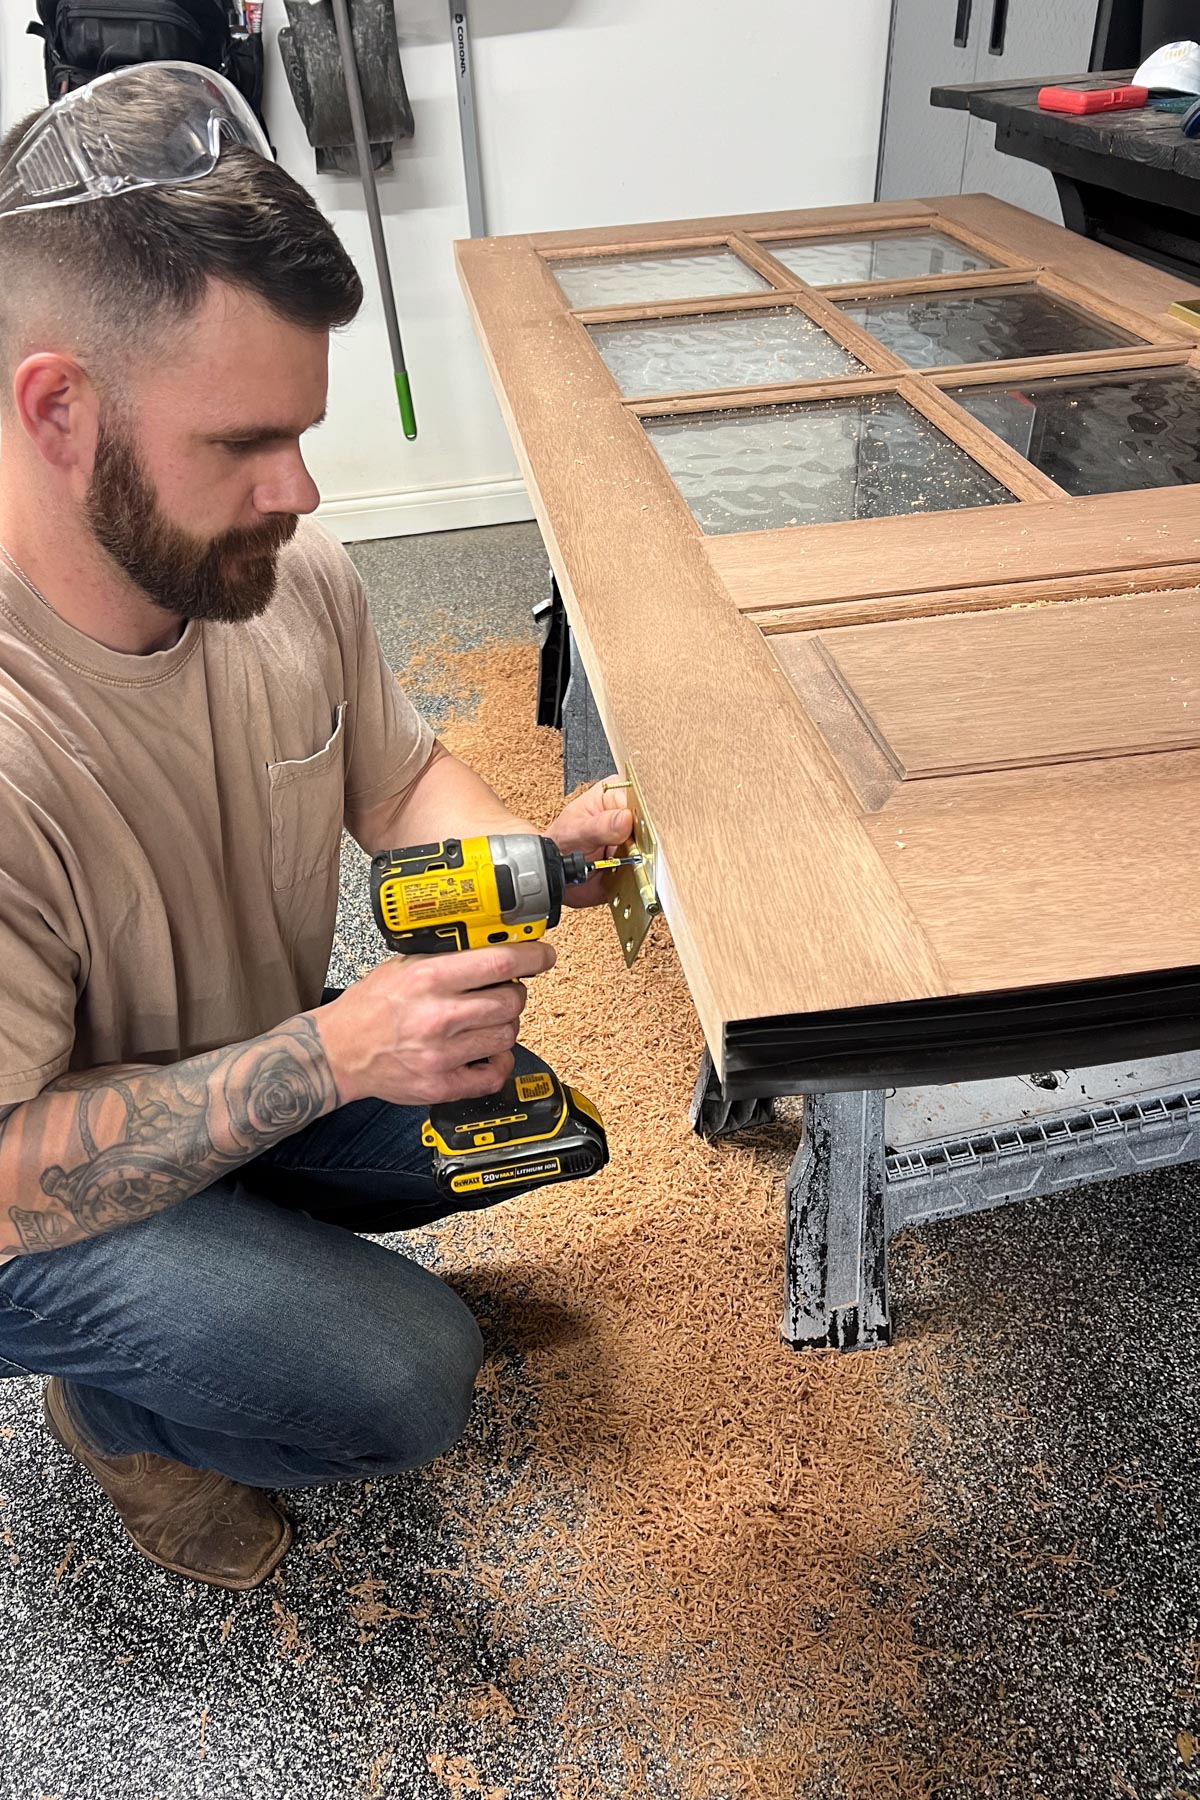
Once the stain had fully cured, Christian installed the satin brass hinges and handleset.
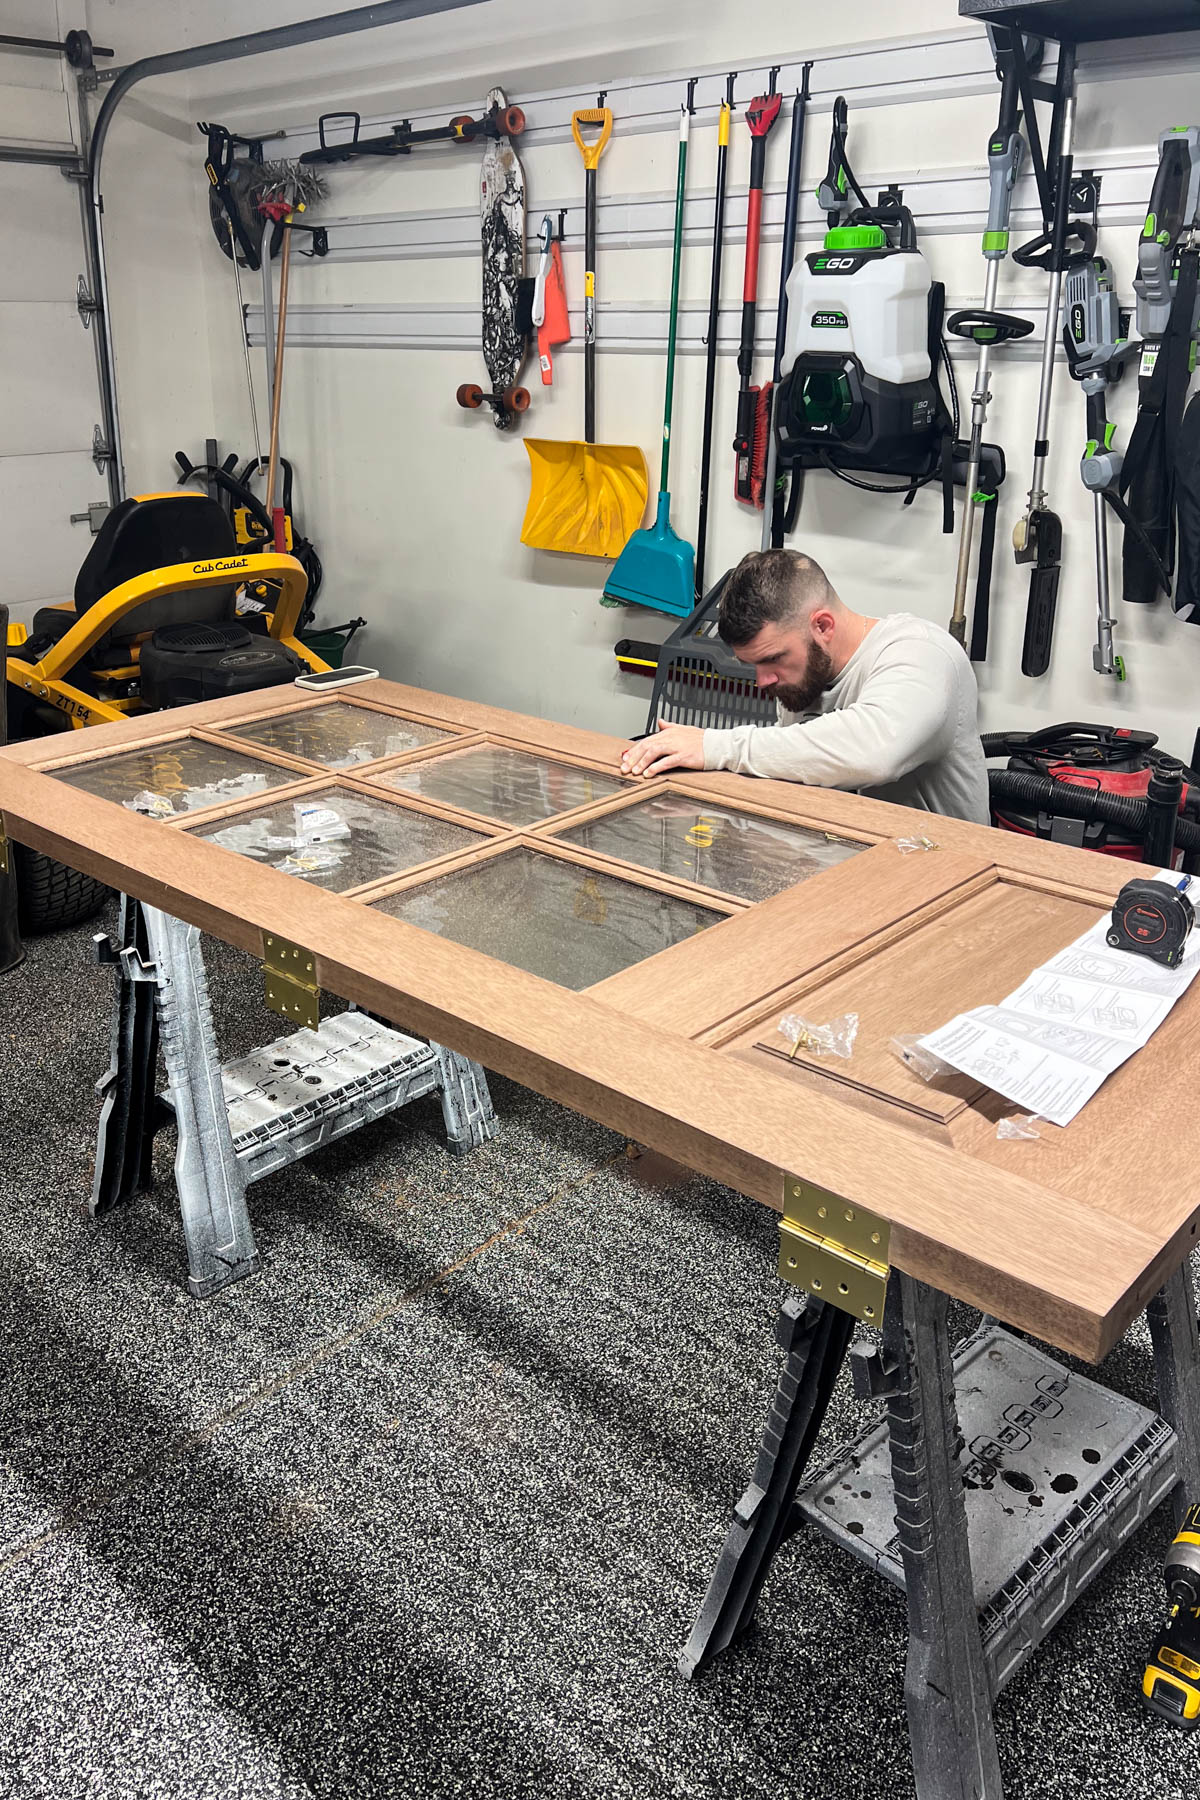
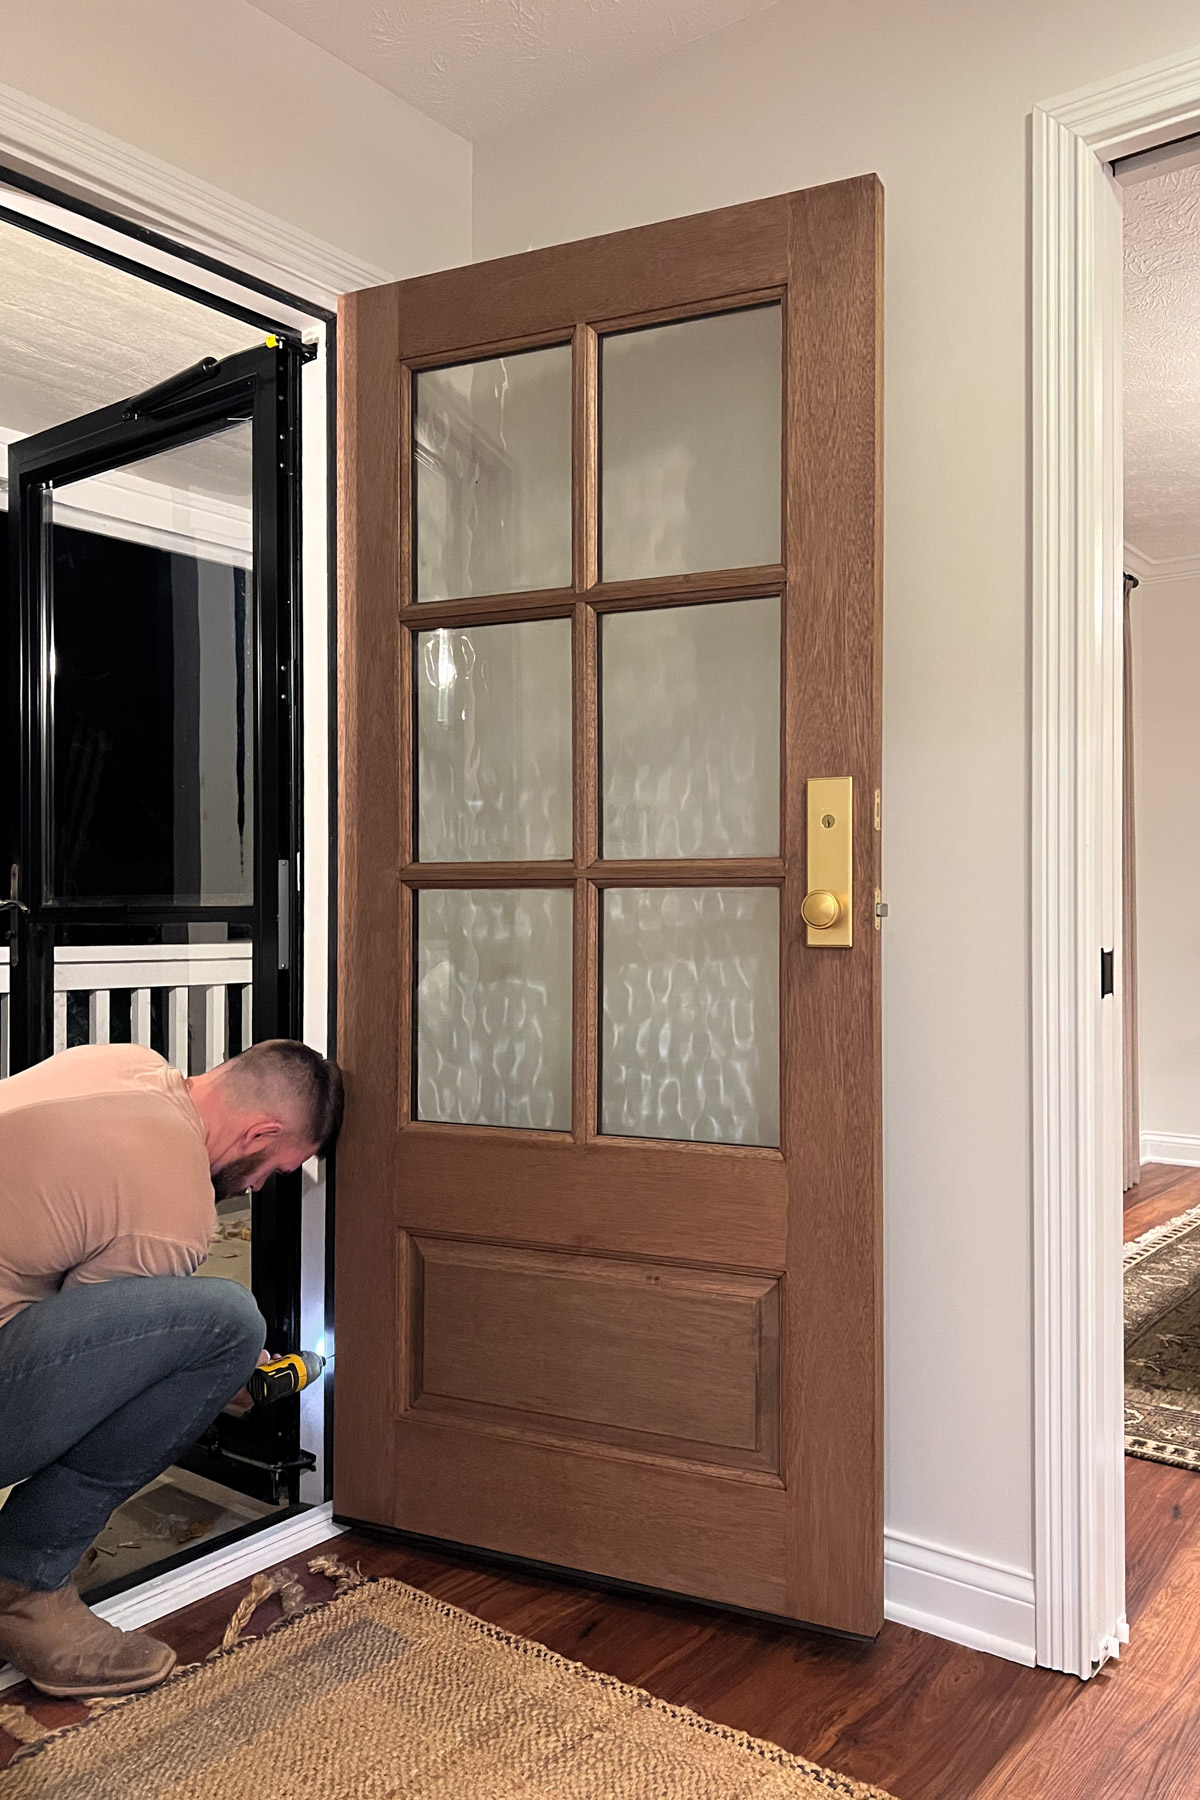
Because the new hinges had a different screw pattern than the old ones, we used a self-aligning drill bit to create new screw holes. Hanging the new door was a two-person job; one held it steady while the other screwed it into place.
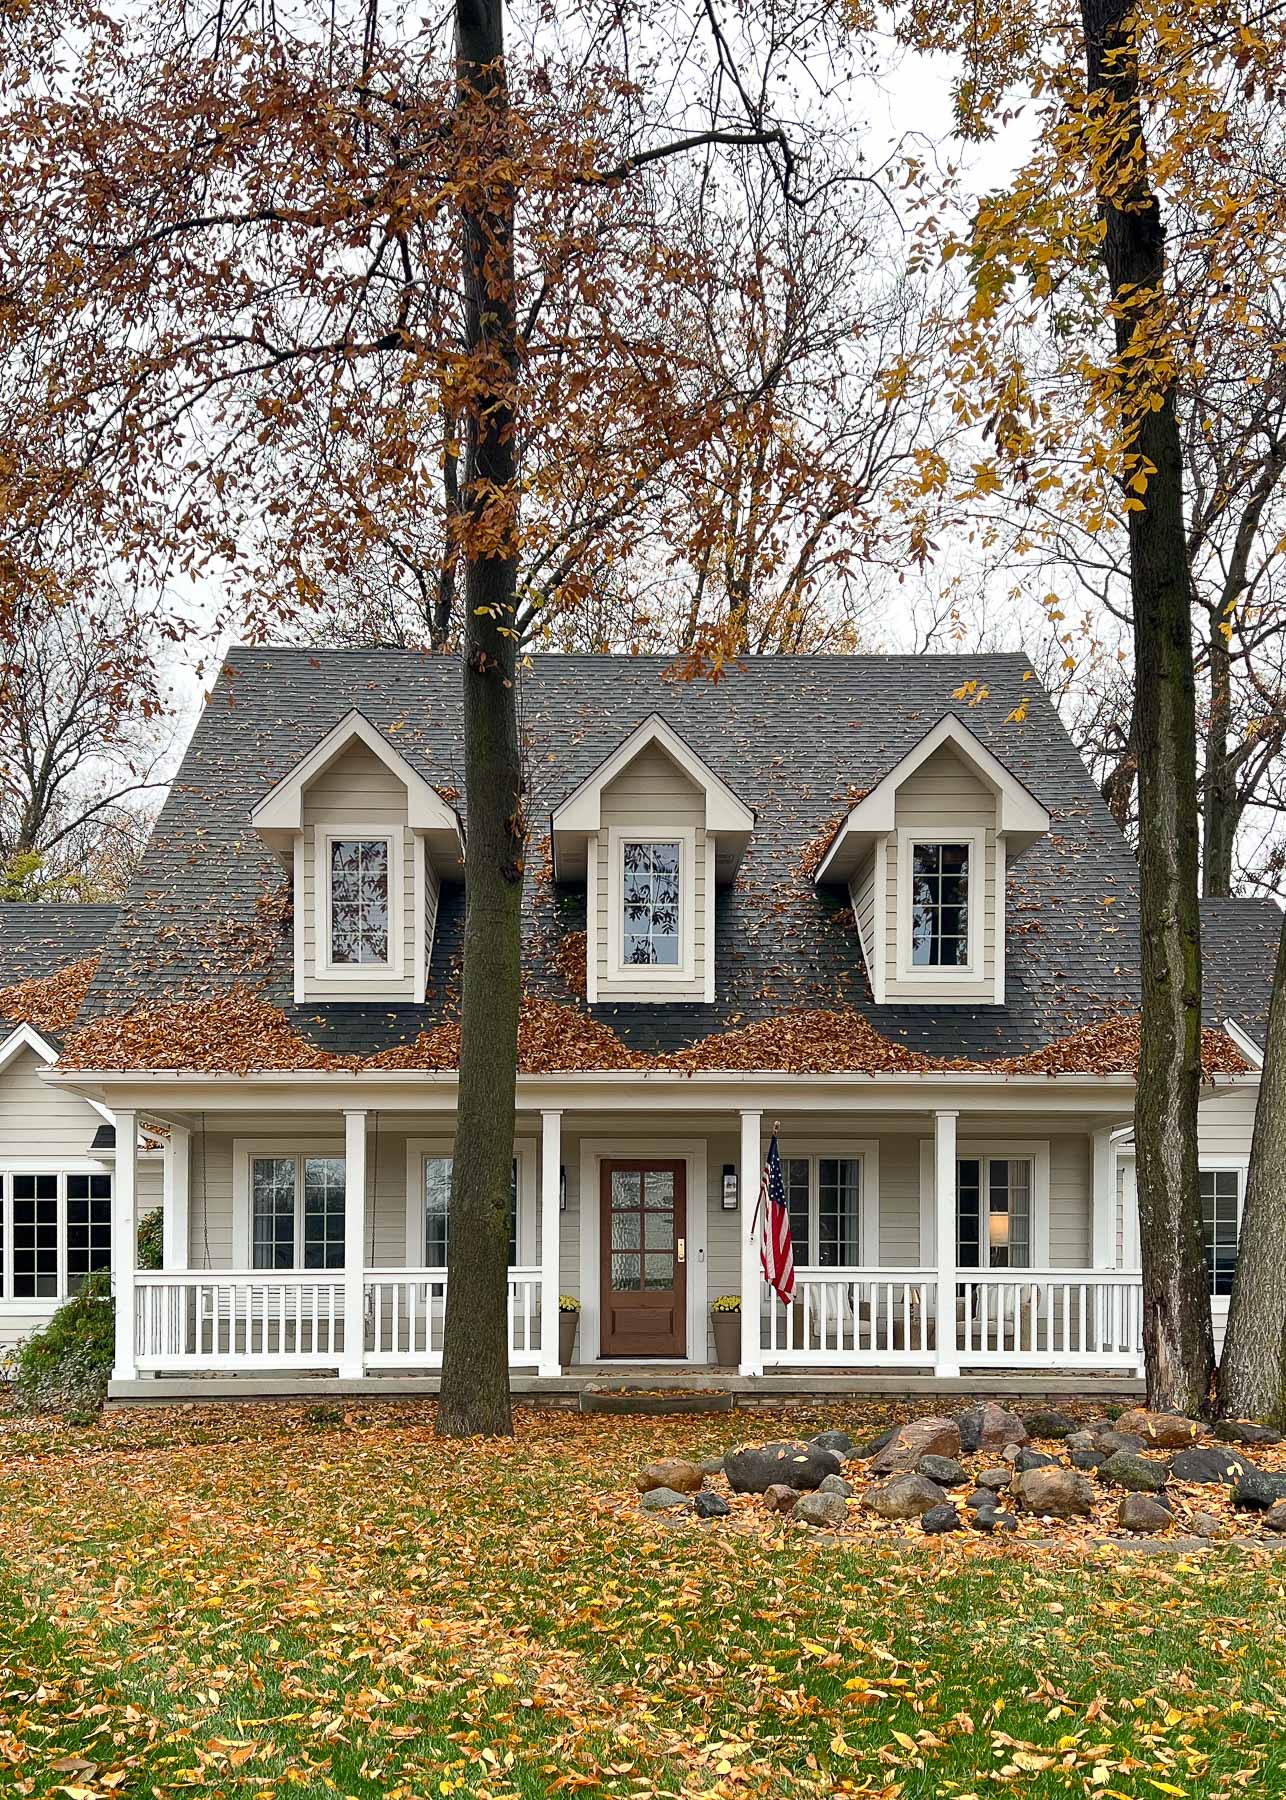
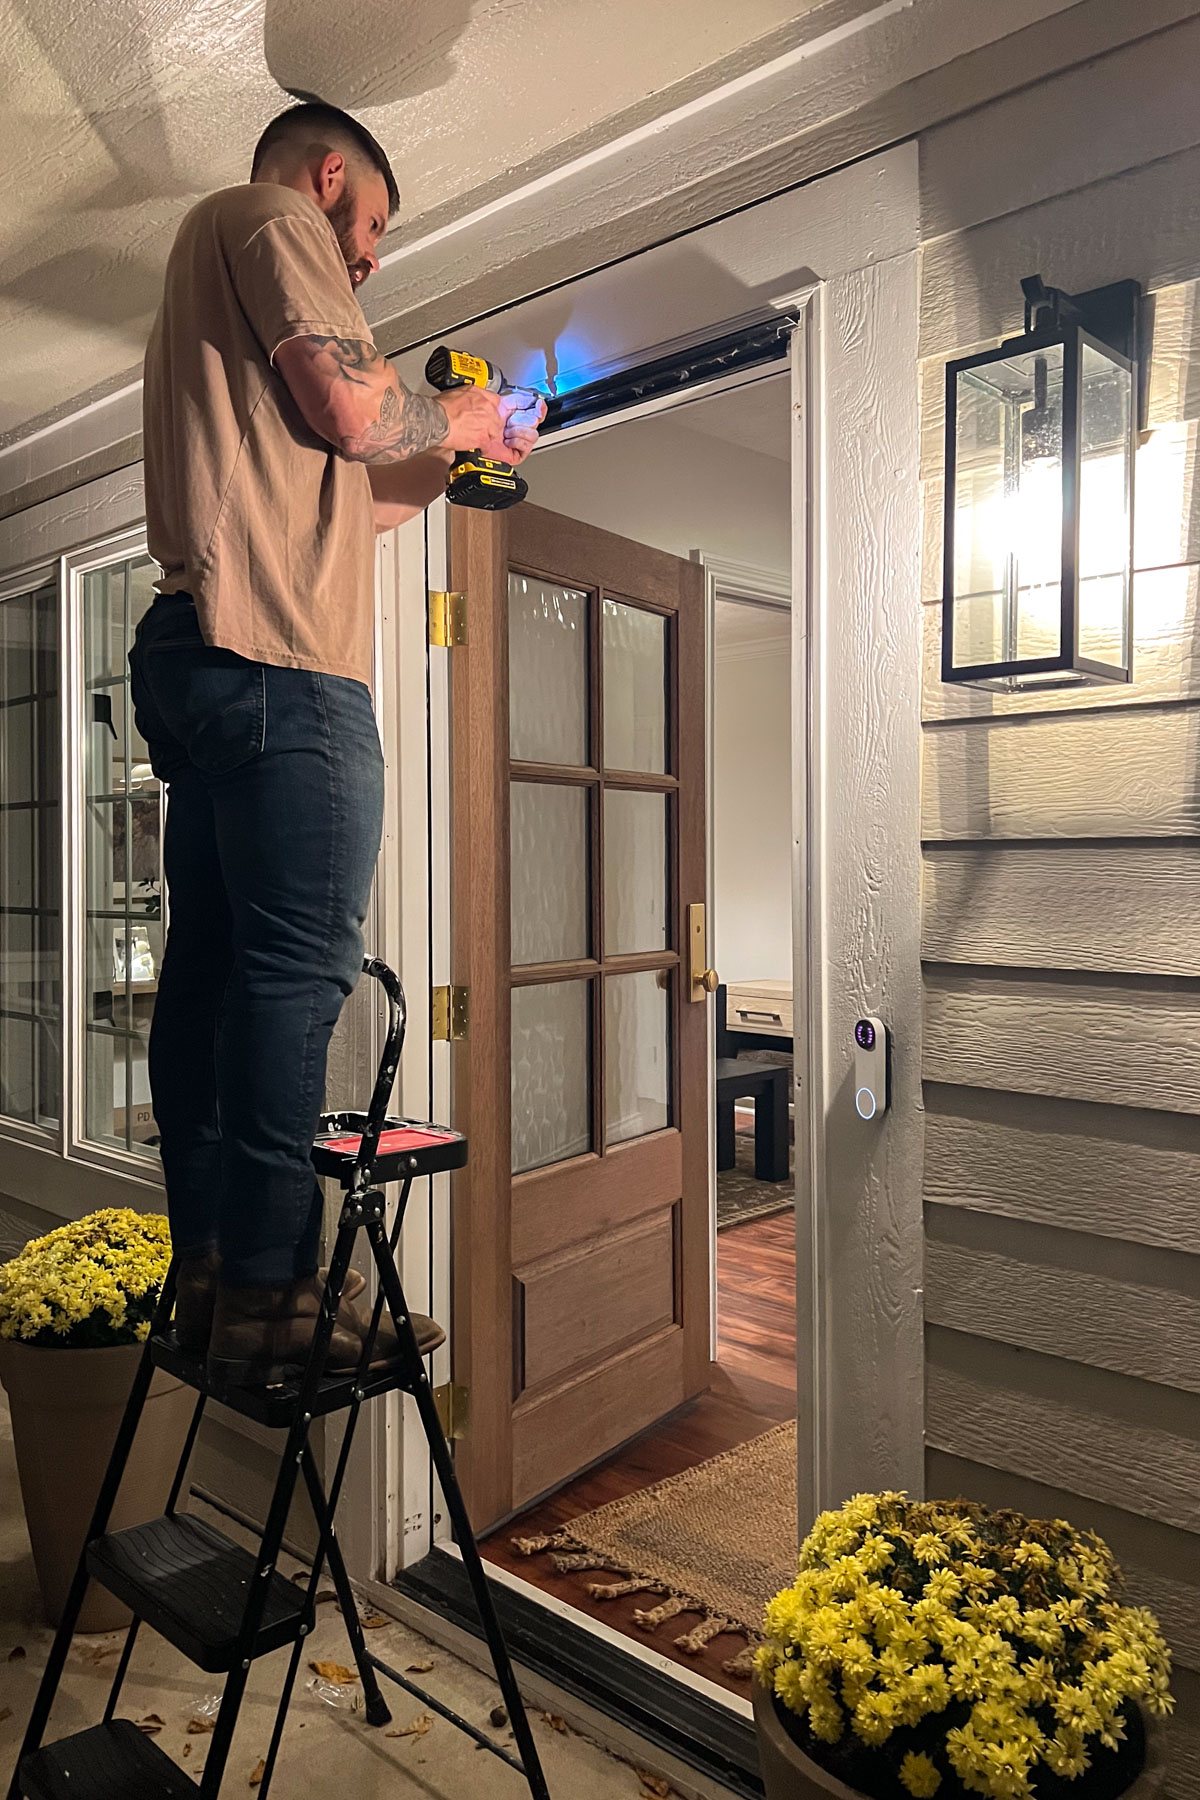
This turned into quite the debate! The new door lets in so much gorgeous light that a storm door felt completely unnecessary. Plus, I refused to let anything cover up our stunning new statement door. Christian initially wanted to keep it, convinced that taking it down would be a massive headache, but removing the storm door was a hill I was prepared to die on.
As soon as we hung the new door, we stepped back and immediately agreed: the storm door had to go. It turned out to be surprisingly easy to remove since it was just screwed directly into the frame. We do have a tiny bit of exterior touch-up to do around the screw holes, but letting that rich mahogany and Flemish glass shine unobstructed was 100% the right move. (As much as I hate to admit it, Christian is usually right, but I'll gladly take the win on this one!)
Taking the DIY route definitely took extra time, effort, and patience, but the money saved made it completely worth it to us. Tackling a raw mahogany slab certainly pushed us out of our comfort zone, but stepping back to watch that rich Cordovan finish and textured Flemish glass catch the light makes all the hard work rewarding. Our front entry is definitely a moment now.