Starting our entryway's long-awaited makeover
We kicked off our home reno with the entryway, but it quickly took a backseat. Now, it's finally time to prep this space for its long-awaited transformation.
It's hard to believe, but it's been nearly two and a half years since we embarked on our home improvement journey, starting with the entryway. We began by removing the wall moulding and updating the light fixtures, laying the foundation for the transformation that is now taking shape.
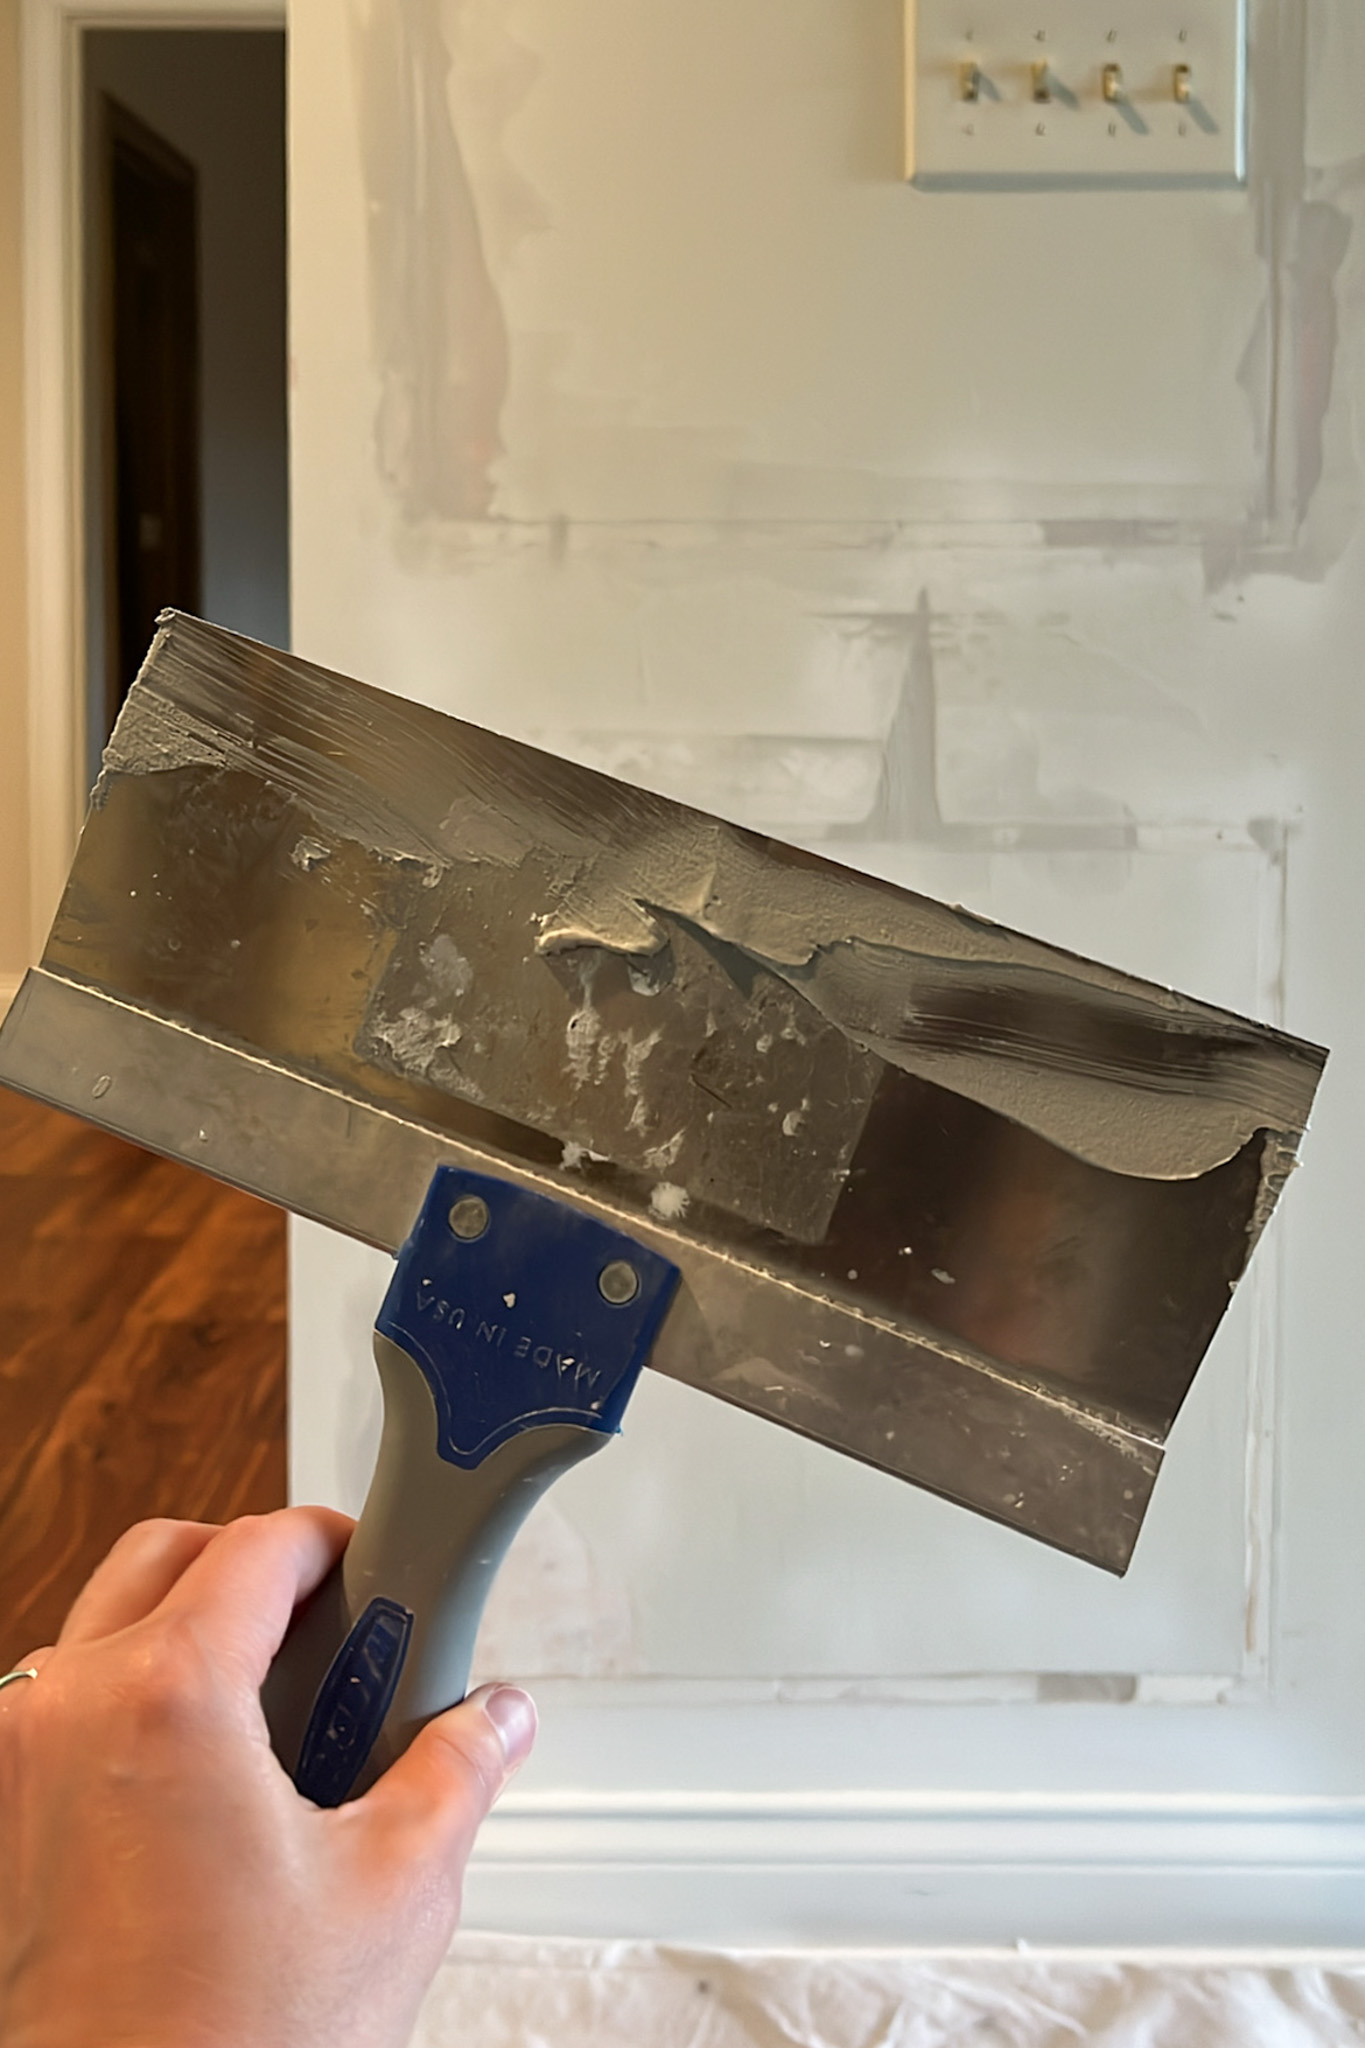
Back then, the entry wasn't a priority. Other rooms needed attention, and honestly, one task kept holding us back: resurfacing the walls after taking down the moulding. Anyone who's done it knows it's neither the most enjoyable nor the cleanest part of an update. It involves a punch of putty and a dusty mess while also requiring precision for a smooth finish. Neither of us looks forward to it.


The more rooms we complete, the smoother this whole process has become. We now know exactly what we're in for, and more importantly, we know how to better prepare and manage the mess. We've figured out the dos and don'ts for spraying trim and doors, as well as how to make wall resurfacing less of a headache. There's no way we're repeating the mudroom disaster.
That said, the actual process has not sped up at all lol. It still takes about half a week just to prep a space, especially when there's a lot of wall resurfacing involved.
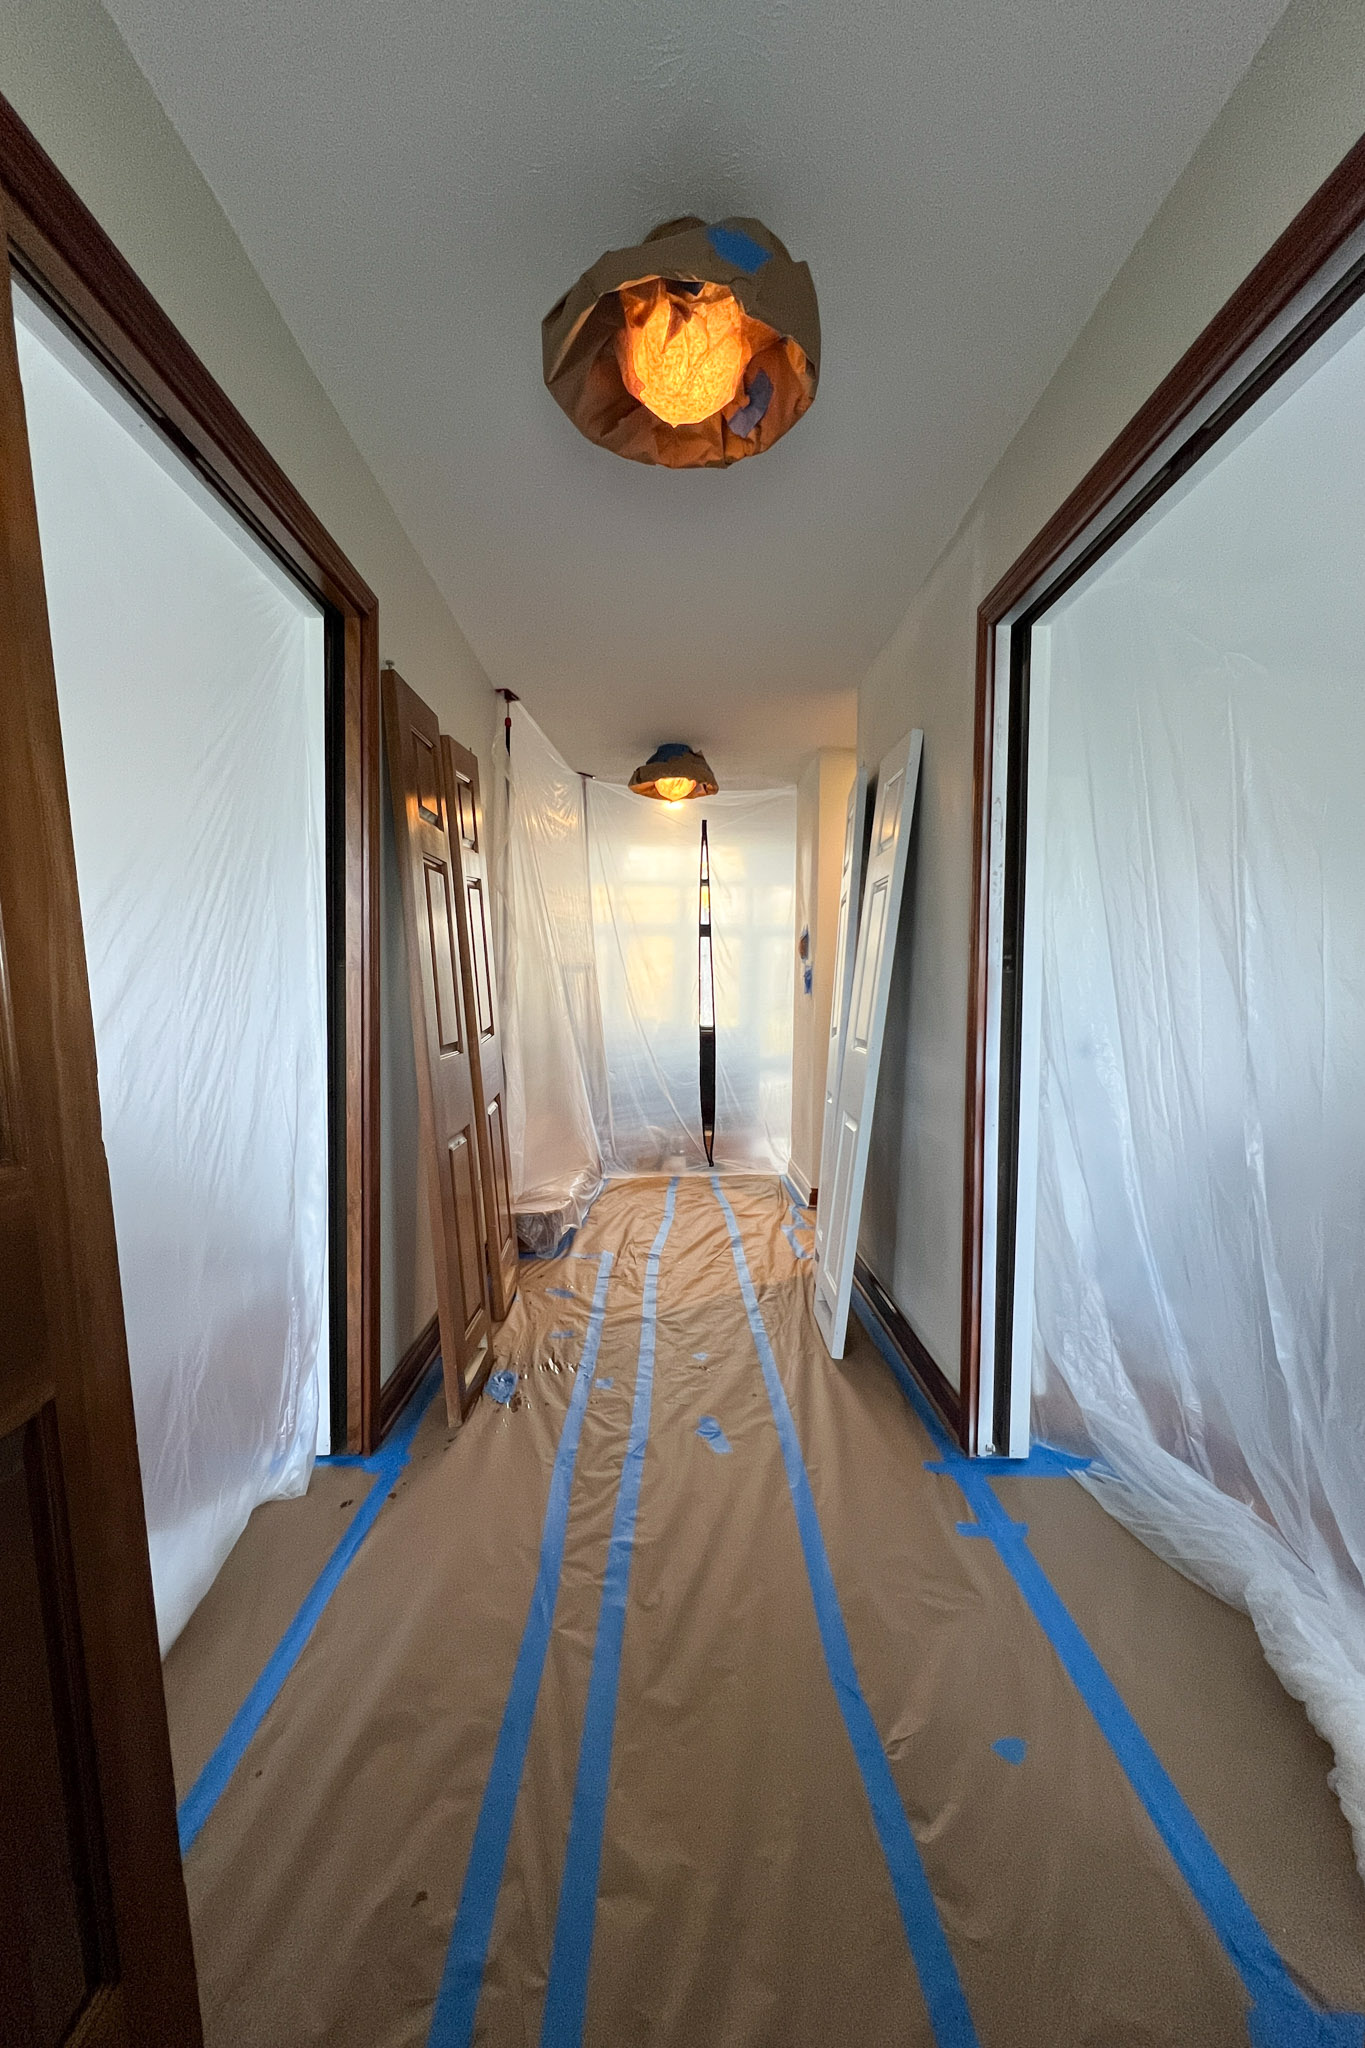
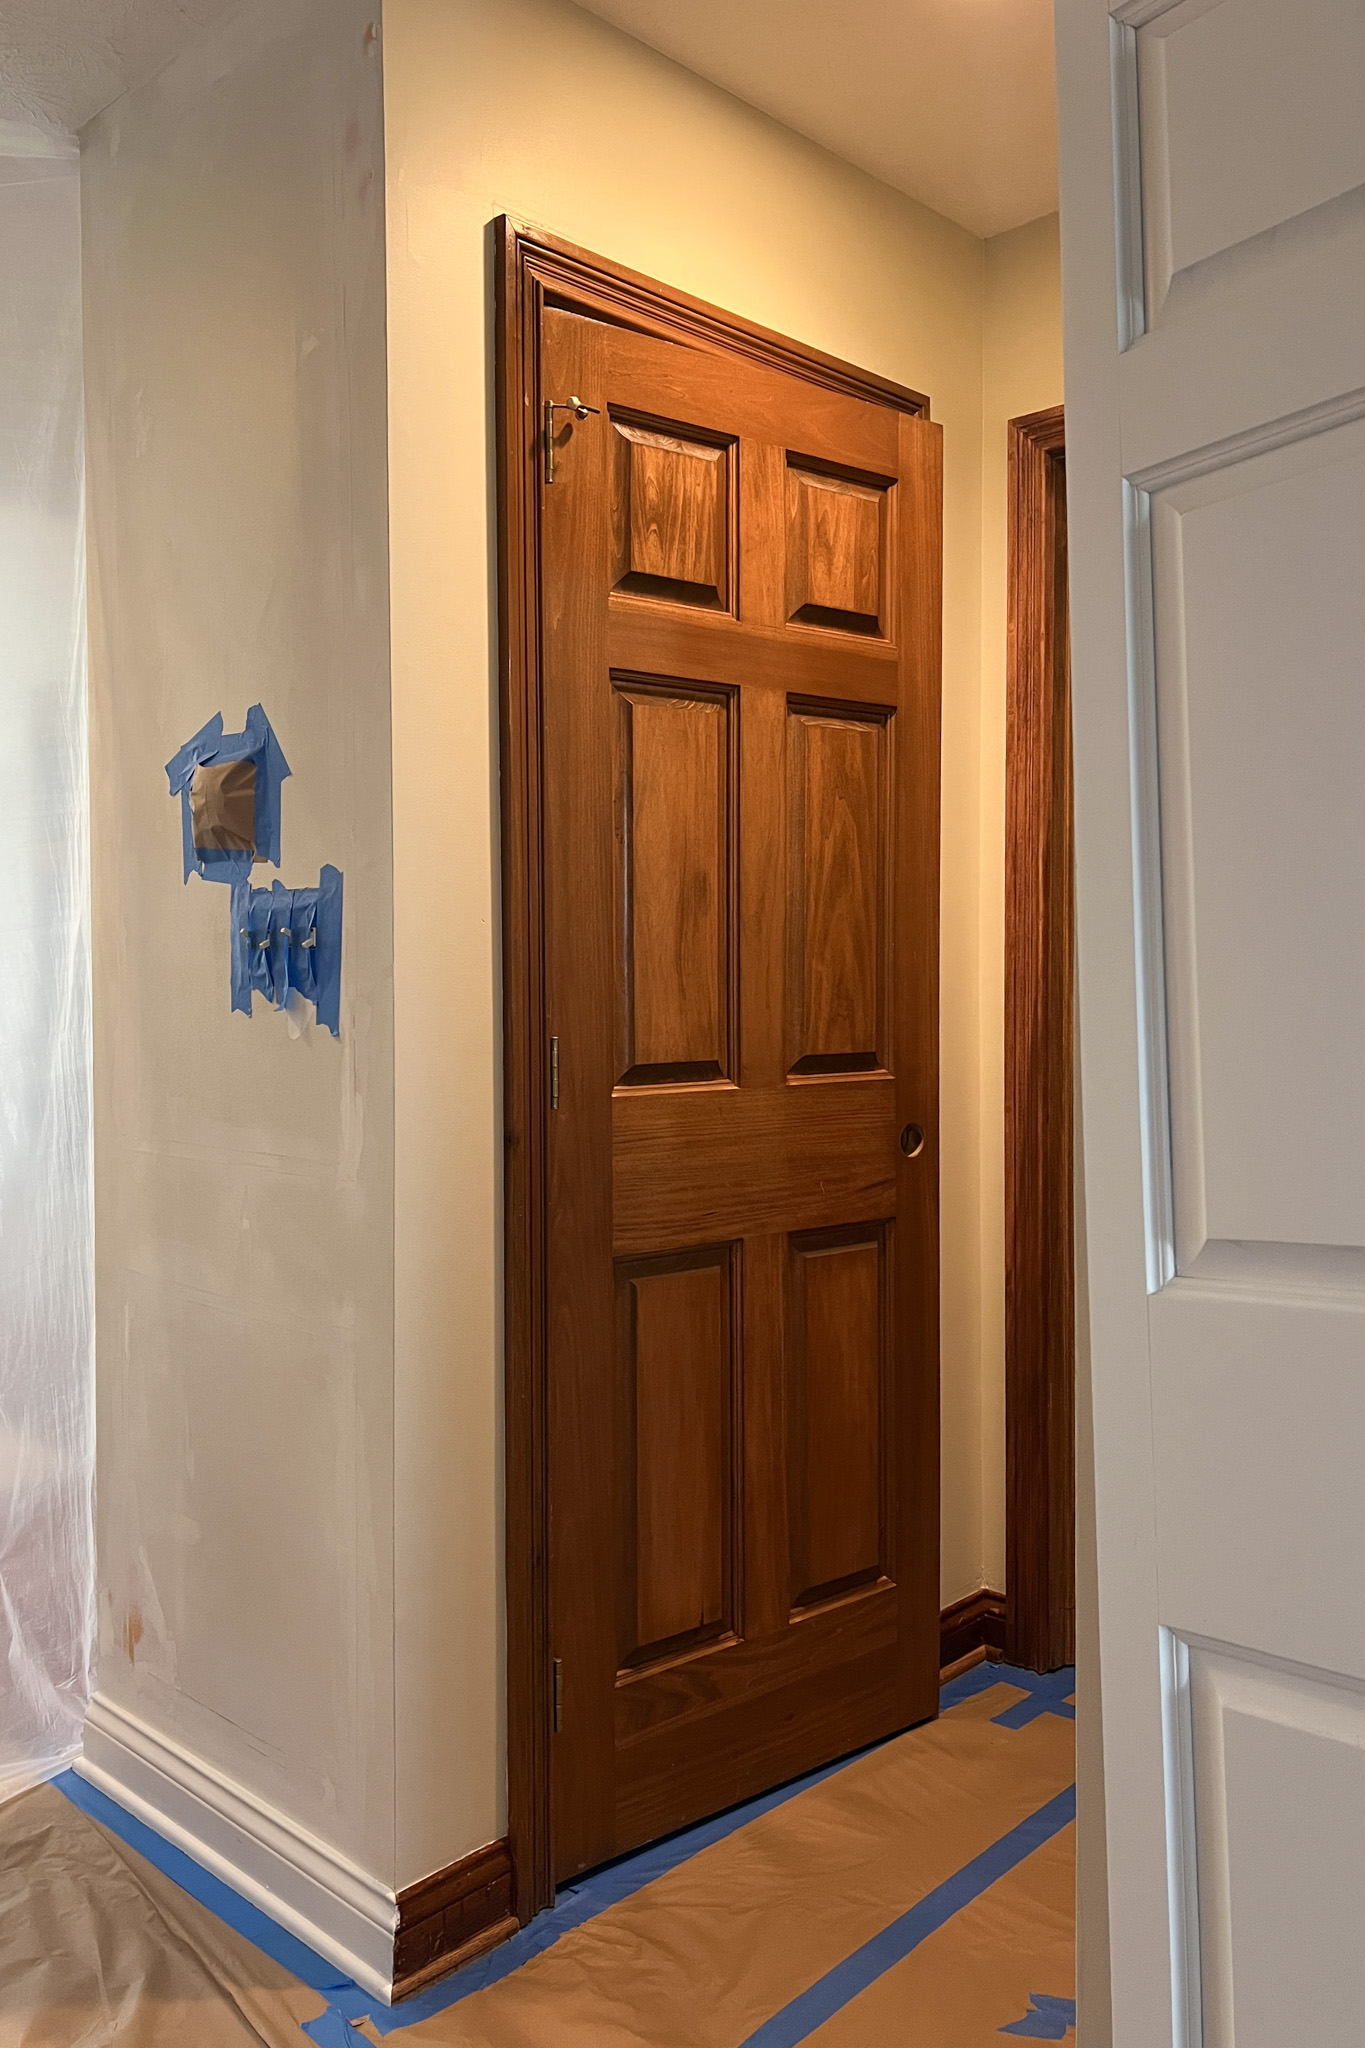
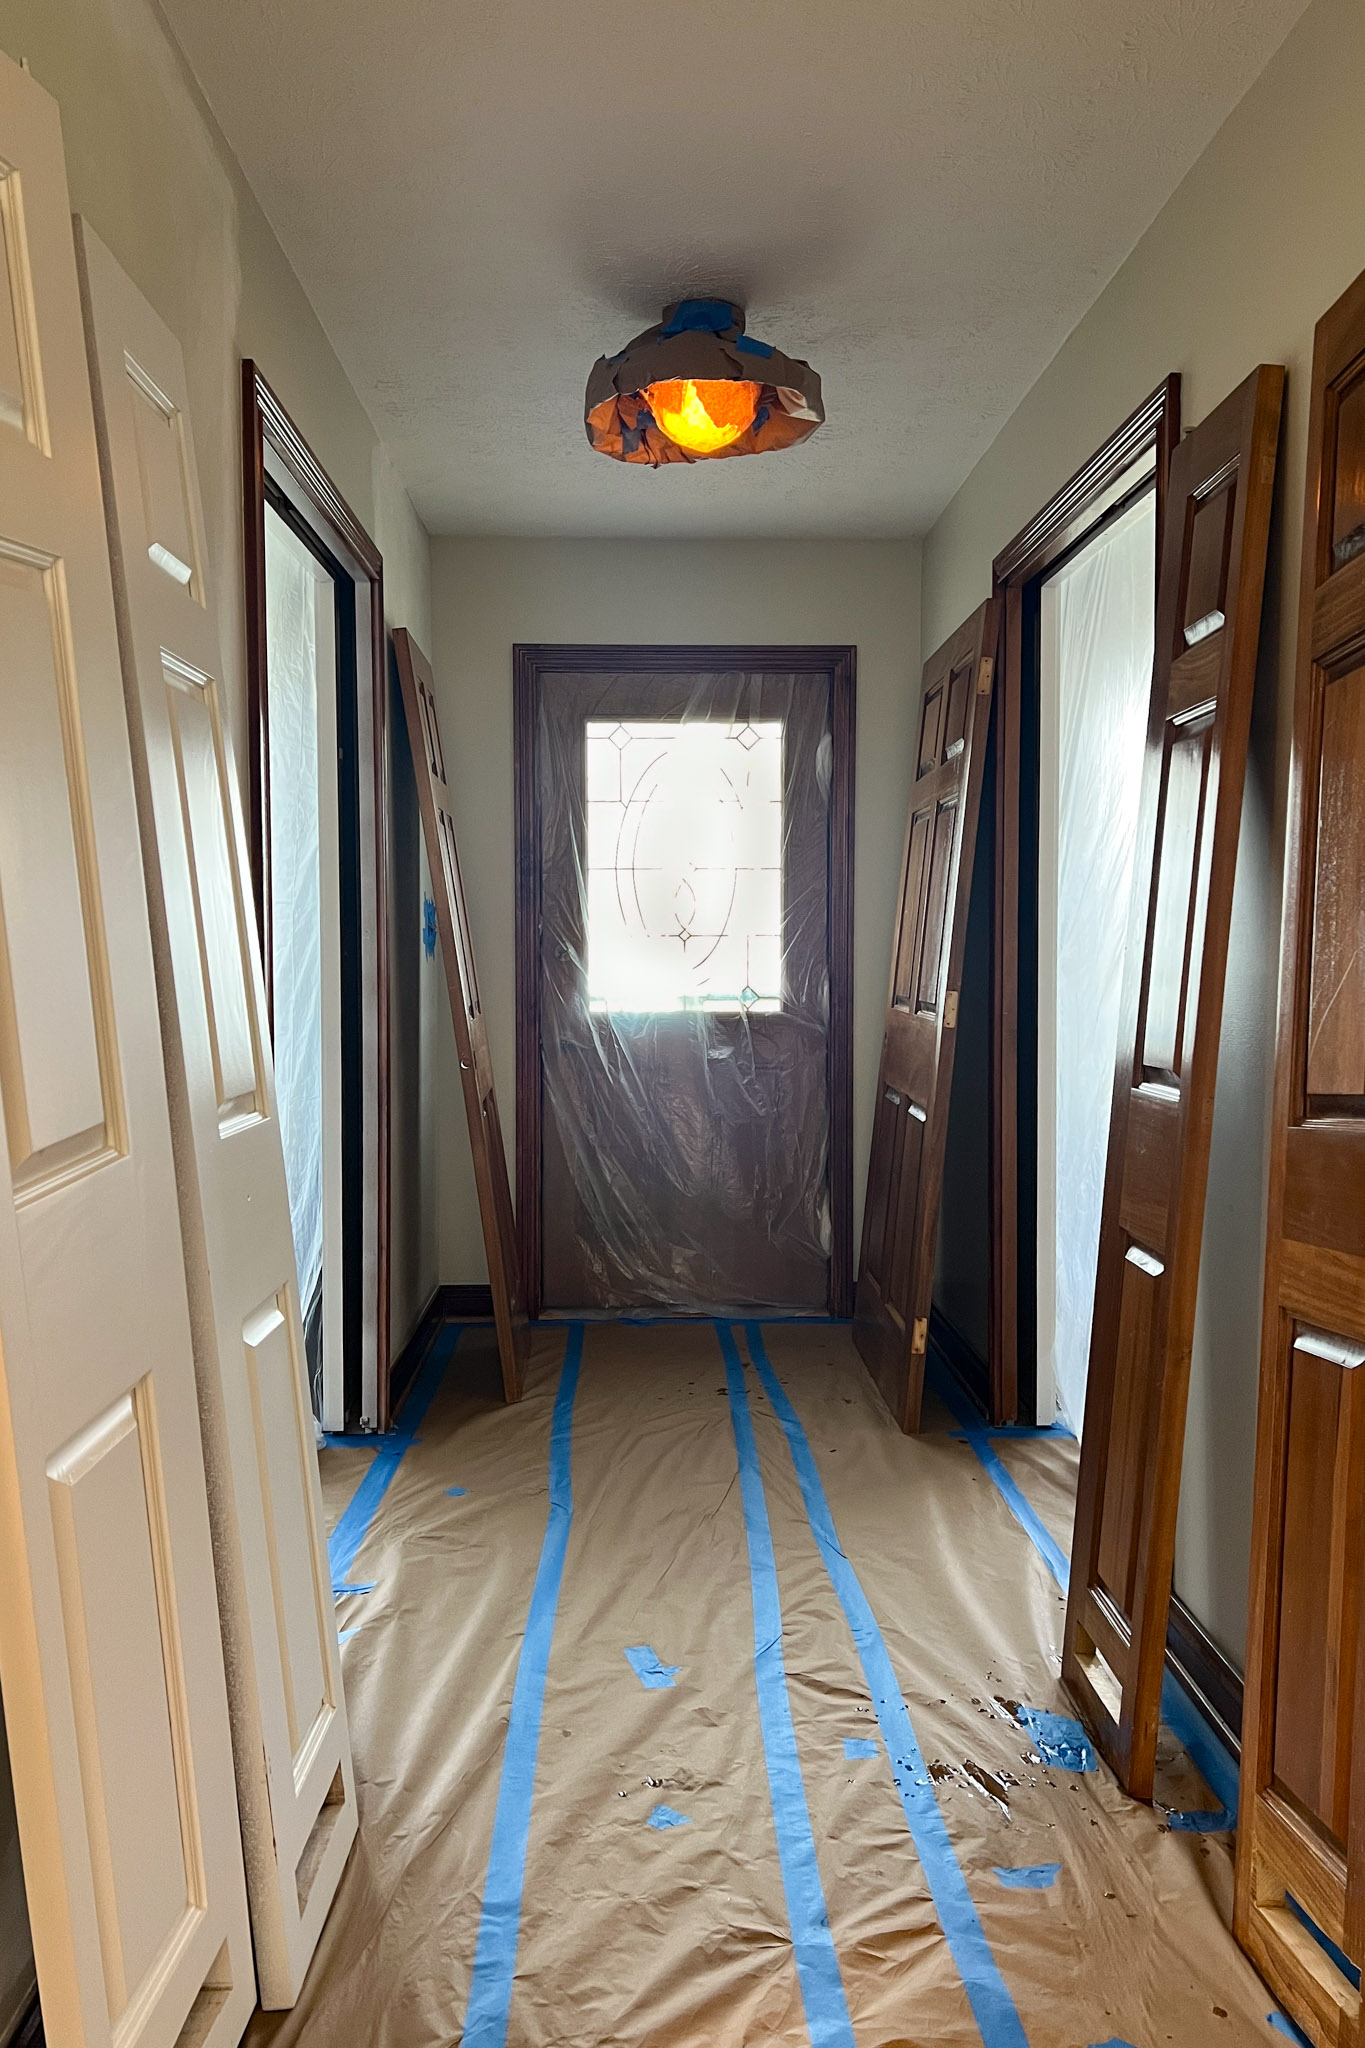
Spraying is quick, yes, but it's still time-consuming. You have to wait for those layers to dry, check for uneven surfaces, sand out any rogue dust or little hairs that inevitably find their way onto the doors, and then start the whole process over for the next coat. We've learned that applying thinner, lighter coats works much better for doors; it's the best defense against those dreaded drips that you then have to sand and buff out. Sometimes, I think hand-painting would actually be easier, but you just can't beat the professional-looking finish you get from spraying.
So, here we are... a long time coming, but the entryway is finally getting the attention it deserves.
Up next


